Article
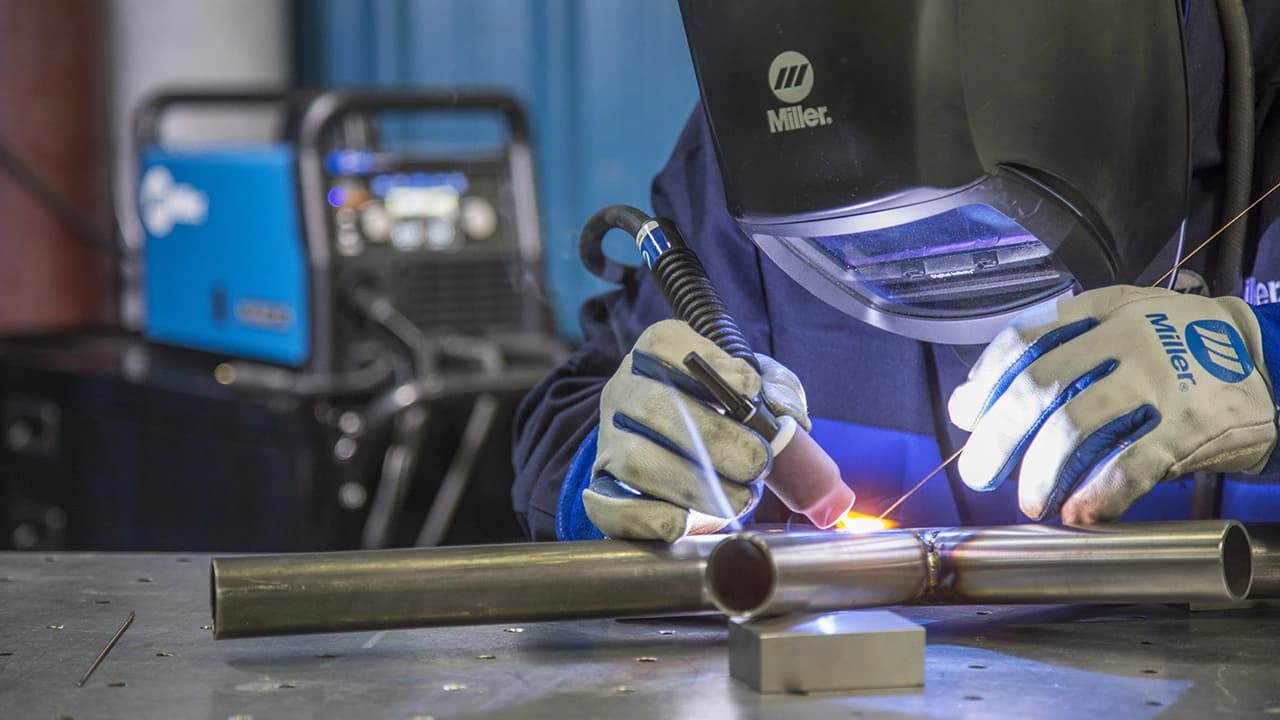
Getting Started With TIG Welding MIG vs TIG Welding Equipment and Process
Learn the key differences between MIG and TIG welding, how the process changes when switching to TIG and how the right equipment helps build confidence and control.
Ron Covell
Owner, Covell Creative Metalworking
Modern TIG welders have been transformed by inverter technology. Today, virtually every TIG welder sold — including the Dynasty® and Maxstar® series — uses this technology. This advancement gives welders and welding engineers the ability to modulate the welding current in ways that were not possible with older transformer-based machines. In particular, inverter technology has made pulsing the welding current easier to accomplish and more cost-effective, even on entry-level machines. We’ll take an in-depth look at the benefits of pulsed TIG welding in this article.
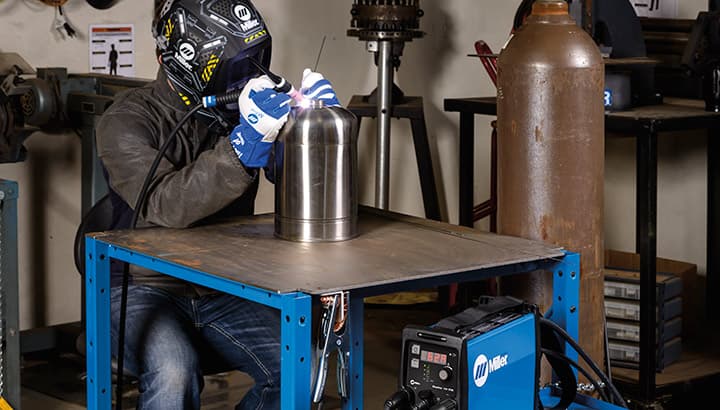
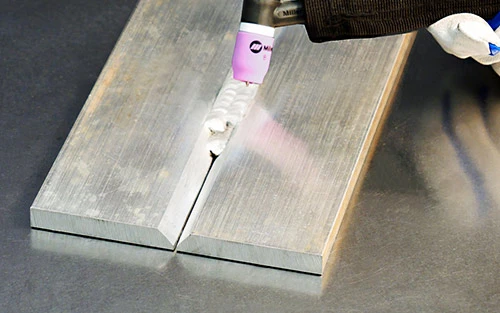
Pulsed TIG welding is ideal when excessive heat could cause problems. The more heat that goes into any weldment, the more likely distortion (warping) will become a problem. This is most noticeable on thin metal sheets and on metals with relatively low heat conductivity, like stainless, and high-tech nickel alloys, like Inconel and Hastelloy. When the heat of a weld isn’t dissipated by good conductivity, it keeps the weld and the adjacent heat-affected zone at a higher temperature for a longer time, causing more distortion.
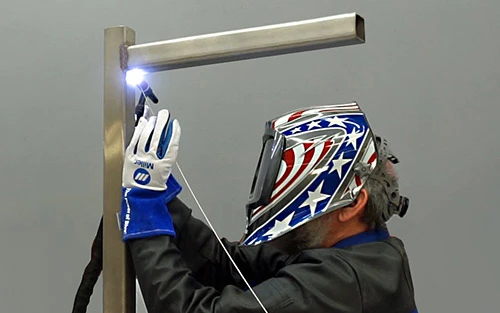
Another instance where pulsing can really help is when welding out of position. Gravity always wants to pull a liquid weld downward, and if you’re welding overhead, this can be quite problematic. Pulsing helps keep the puddle attached to the metal and lessens its tendency to fall toward you as you’re welding. We’re sure you can see the benefit here!
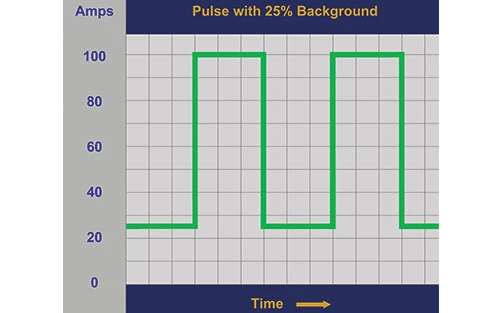
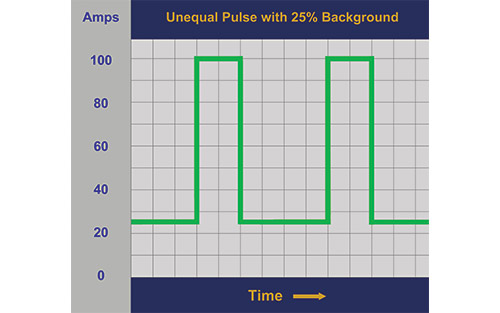
A pulsed TIG welder alternates between two current levels:
On basic machines, you set the peak amperage and the background defaults to about 25% of that value. Pulse frequency — the speed of the cycle — is also adjustable.
Advanced machines offer more control, letting you fine-tune the background percentage and even the time spent at peak versus background.
For example:
This flexibility allows welders to tailor heat input and puddle control for different applications.
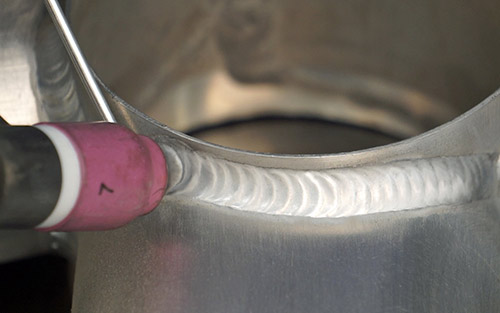
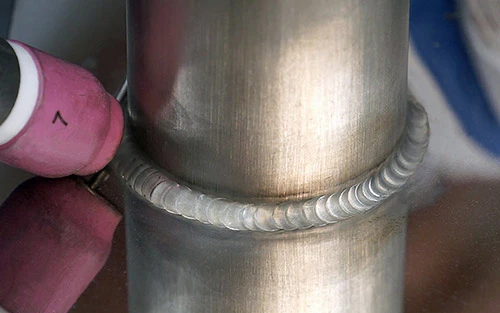
While pulsing at any frequency will lessen the total heat input, there are distinct characteristics available at different points in the spectrum. Some people use a very low pulse frequency (around one pulse per second) to time the addition of filler rod. This is like a musician using a metronome to keep accurate time with the music. Most welders hold the torch stationary and add filler rod during the peak portion of the cycle, then retract the rod and advance the torch during the background period. This is also an excellent way to accentuate the “dime on dime” look that many people prize as the hallmark of a beautiful TIG weld.
Pulse frequency directly influences heat input, weld appearance and control. Here’s how different ranges typically affect the weld:
| Frequency Range | Pulses per Second | Typical Use |
|---|---|---|
| Very Low | ~1 pps | Smoothing or refining an existing weld. |
| Low | 2-10 pps | For welds where broad coverage is preferred over deeper penetration. |
| Medium | 10-100 pps | General welding situations where balanced settings for depth and coverage are needed. |
| High | 100+ pps | Deeper penetration for more narrow joints. |
Very low frequency may be beneficial when making a pass over a weld that has an uneven bead profile. The slow, even pulsing can add a regular ripple pattern that wasn’t there previously. Filler rod is not generally added when using this technique.
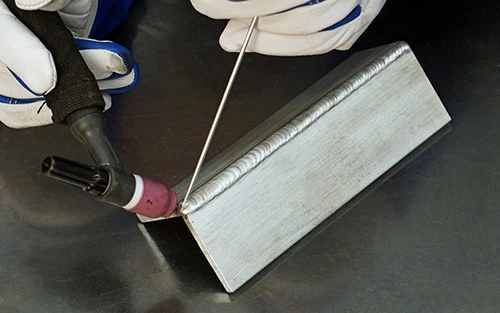
In the two- to 10-pulses-per-second range, the arc is considered “soft.” This is ideal if you want a broad bead and deep penetration is not the goal. An outside corner joint is one example where this may be desirable, or a final “wash” pass that caps off multiple root passes.
Pulsing between 10 and 30 cycles per second causes a “strobe” condition that many people find upsetting. If you experiment with this range, you may find it disorienting.
One hundred cycles per second is the default setting for many TIG welding power sources. It is a middle-of-the-road option, making it a good choice for a broad range of welding projects. It’s probably a good place to start as you experiment with different pulse settings.
Pulse frequencies above 100 cycles per second tend to make the arc “stiffer" when TIG welding. This can help drive the penetration deeper into a narrow joint. This may also allow faster travel speeds and give the arc better directional control. Some industrial-level machines provide pulsing up to 500 cycles per second, which can maximize these benefits.
The background setting allows you to control the cooler portion of the cycle. A good starting place is between 25% and 40%. Higher percentages create a more fluid puddle and allow faster travel speeds, while lower percentages provide the greatest reduction in the heat input.
If your machine lets you adjust the time spent at peak current, increasing that percentage adds more heat in the weld, resulting in a wider bead and deeper penetration. However, avoid going too high — remember, the main advantage of pulsing is reducing heat in the base metal. A good place to start is between 40% and 60%.
Finally, you will need to set the amperage higher when pulsing, since the nature of the process reduces the overall heat that enters the metal.
Pulse frequency helps control heat and weld penetration. The higher the frequency, the longer the weld is exposed to the peak current, creating a stiffer and more focused arc ideal for a deeper penetration and faster travel.
Background settings allow you to control the current between peaks. This helps regulate how much the weld can cool before the next pulse. Each welder will learn which settings work best for them in various situations — particularly when dialing in pulse control on inverter-based machines like a Maxstar or Dynasty welder. It’s good to experiment and learn which aspects of pulsed TIG welding can benefit the type of work you do. You may be surprised at how many ways pulsing can ease your welding tasks.
Learn the key differences between MIG and TIG welding, how the process changes when switching to TIG and how the right equipment helps build confidence and control.
Learn the basics of TIG welding in motorsports applications and the proficiency of a TIG welder on aluminum and chrome-moly.