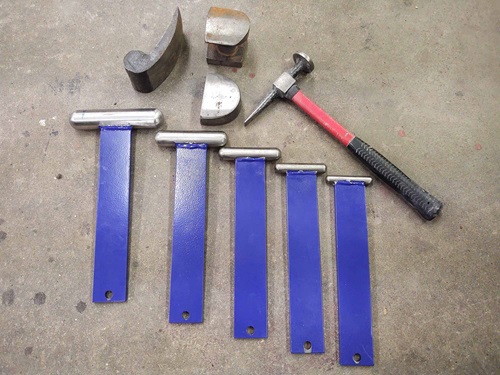
Then, I will hammer or reshape anything that became out of whack with the welding and grinding. As I mentioned before, shrinking is inevitable with any welding process. How much it shrinks and how to correct it is the question that you will need to address. This correction process can take five minutes or five hours. It all depends on the quality of the metal that you want under your bodywork. The closer it is to straight and perfect, the less filler it will take, but the more time it also takes. It’s a perfectly correlated relationship between time and quality. For the average build, I like to keep it less than 1/8 inch out of straight for any low or high spots in the metal. It’s easier to fill lows with body putty than to correct highs with body putty.
7) Bodywork
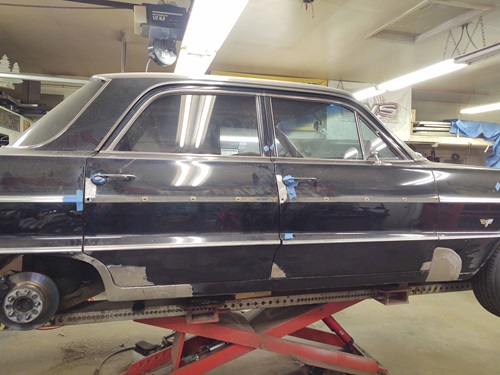
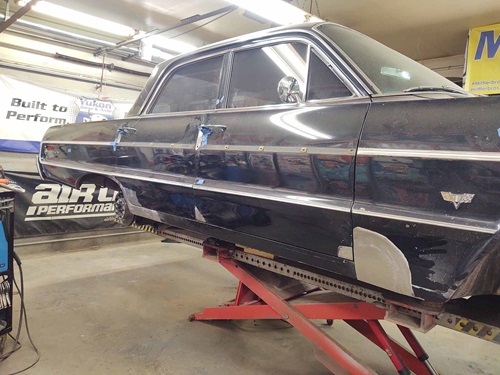
Whole books could be written on the specifics of bodywork, so I'm not going to go extremely in depth here. The most important thing is the metal prep, good filler materials and good sanding blocks.
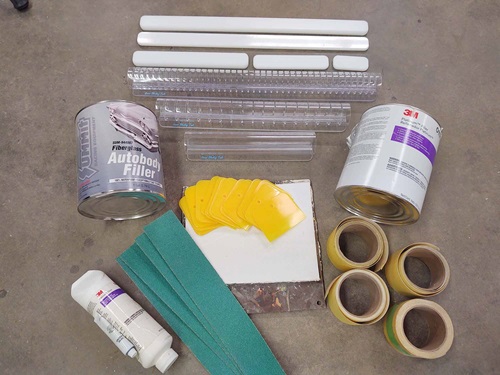
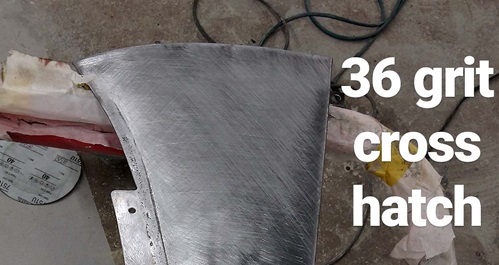
For metal preparation before filler, you want to make sure your metal is as clean as possible, is free of contaminants and has some texture for the products to stick to. I first start with a 120 grit pad on a 3-inch grinder or SCT contour to remove any major paint, contaminants or rust. Then, I use 36 grit sandpaper to heavily crosshatch the area by hand. You want the surface to look and feel rough. Finally, I use a wax and grease remover or lacquer thinner on a clean rag to completely clean the metal before applying filler or any other product. The crosshatching allows for the most robust mechanical adhesion of the filler. The solvent cleaning provides the best chemical adhesion of the filler. Both are important for the longevity of your repairs.
With rust repair, it is crucial that you "waterproof" your repair. For the first round of filler, I use the Summit Racing short-strand reinforced filler (also known as Duraglass) on every weld seam or panel replacement seam. This will help keep water from entering through the backside of the panel and creating moisture pockets between the paint and the metal, which will eventually rust again. Pressing Duraglass into all the seams is essential. It doesn't take a whole lot; make sure any pinholes or anywhere that water can get is filled with the Duraglass.
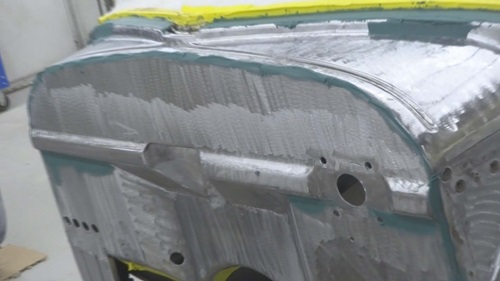
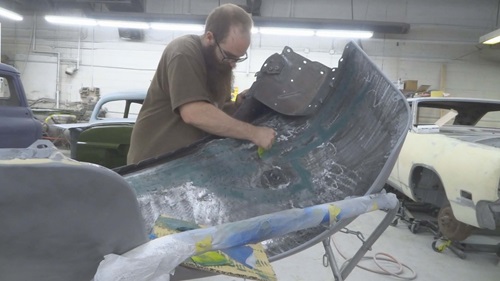
From there, you will likely need to do a skim coat of lightweight filler. Any hotrod builder or shop that tells you they don’t use ANY body putty is simply lying. There's no shame in it! It's a great tool when used correctly and to perfect a repair in a cost- and time-effective way. Again, don't use over 1/8 inch; it will be fine.
Tip: Lightweight filler is not waterproof; if it gets wet, it will soak through to the metal and rust it from the inside out. So make sure it doesn't get wet once applied.
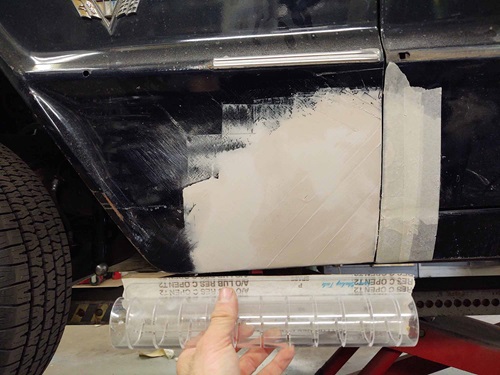
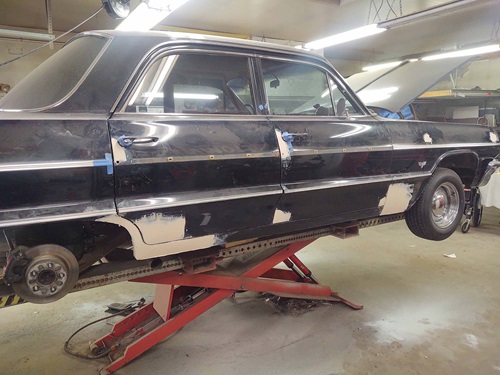
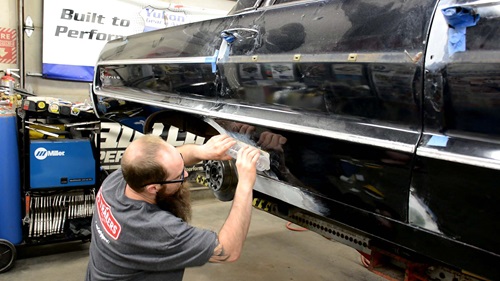
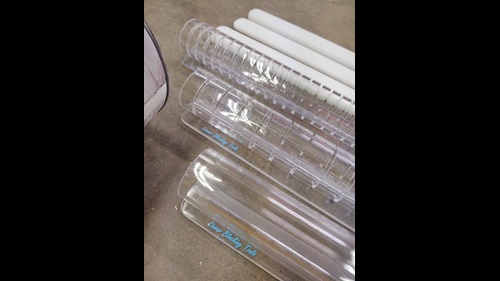
The sanding process generally starts at 60 grit and works up to 320 grit. I use Linear Blocking Tool blocks along every step. There are multiple different blocks that I use, but they all have their purpose and their place. For the smaller repairs on this particular job, I primarily used the 8-inch straight block and the smaller wet sanding/detail blocks.
8) Prime and Paint or Wrap
This step has a ton of variability in preferences/specifics as well. The important thing is to get all of your bodywork covered and protected so the metal underneath doesn’t get exposed to moisture, salt or the elements. This is another topic that an entire article could be written on. Use decent products and take your time. For filler (2k) primer on small areas like this, I like the Eastwood roll-on primer system. It's nice not to worry about overspray or masking everything for quick, small repairs. I use Summit Racing paints for the actual color on larger repairs. Prime it, sand it, paint it. This car is being wrapped after my repairs are done, so I didn’t spend a ton of time doing a perfect color paint match on it. Instead, I just got it primed well, then used the closest rattle can I could find to add another layer of protection.