MIG Welding Tips
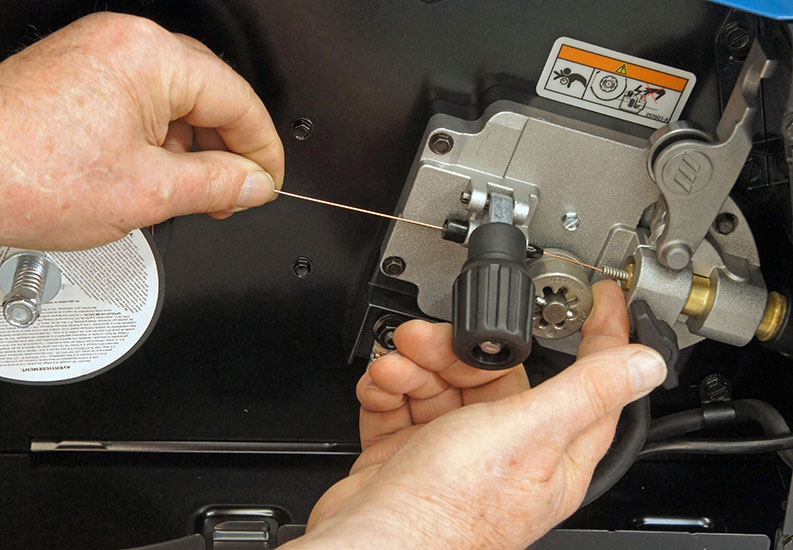
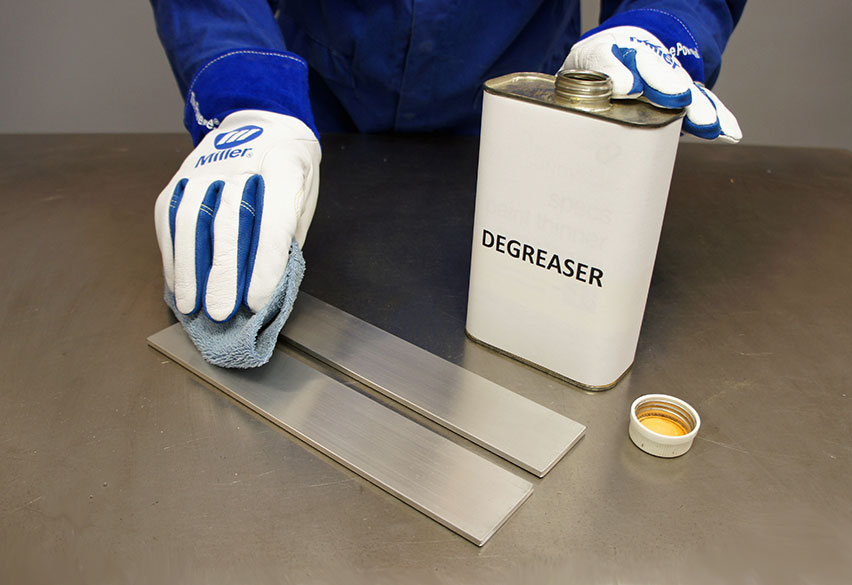
Preparing metal for MIG welding
The material needs to be clean to get a good weld; remove any grease or oil before using abrasives. MIG welding is more tolerant of minor surface contaminants than TIG welding, but the cleaner the metal, the fewer problems you’ll have. I often use sanding disks or a non-woven abrasive for cleaning rust, paint or scale off the metal.
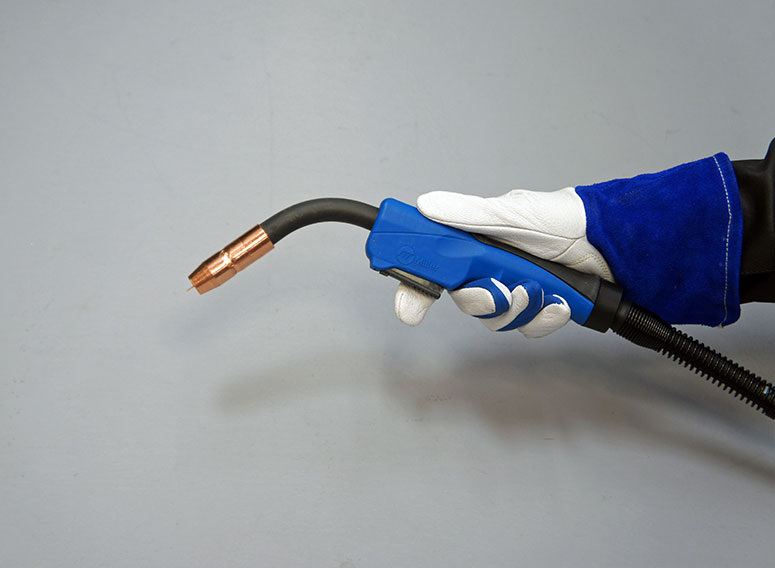
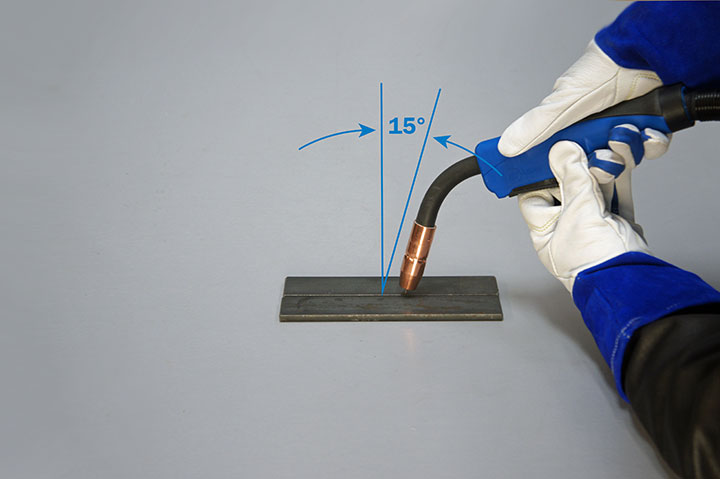
Finding the correct welding angle
Welding technique plays a big role in weld quality. I normally push the puddle when I weld. Since I’m right-handed, that means the motion of the gun is toward my left. In most cases, you should angle the gun slightly in the direction of motion—this is called the travel angle, and 15 degrees is a good place to start.
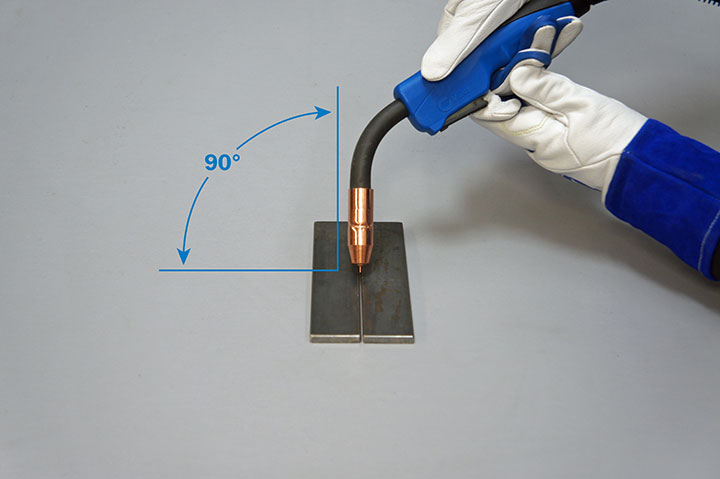
When looking at the gun from the end of a seam, the angle of the gun to the work is called the work angle. Here are some common setups:
Butt joint: Hold the gun at 90 degrees to the workpiece.
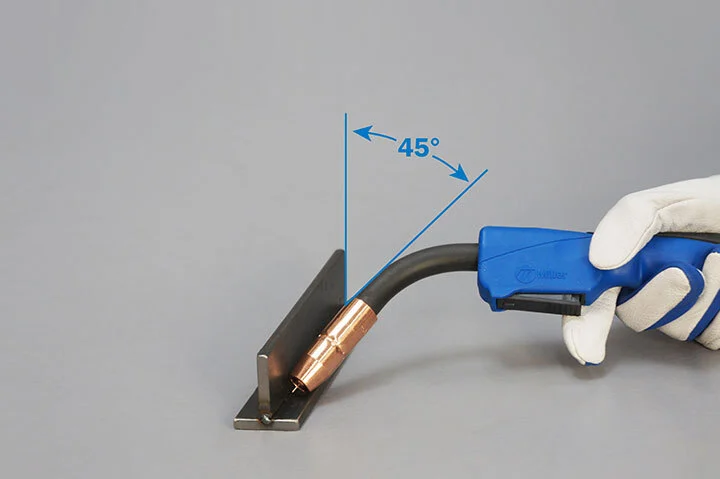
Fillet welds: Use a 45-degree angle.
Inverted T joints: Angle the gun slightly away from the vertical element to prevent burn-through, since the vertical part can’t dissipate heat as effectively.
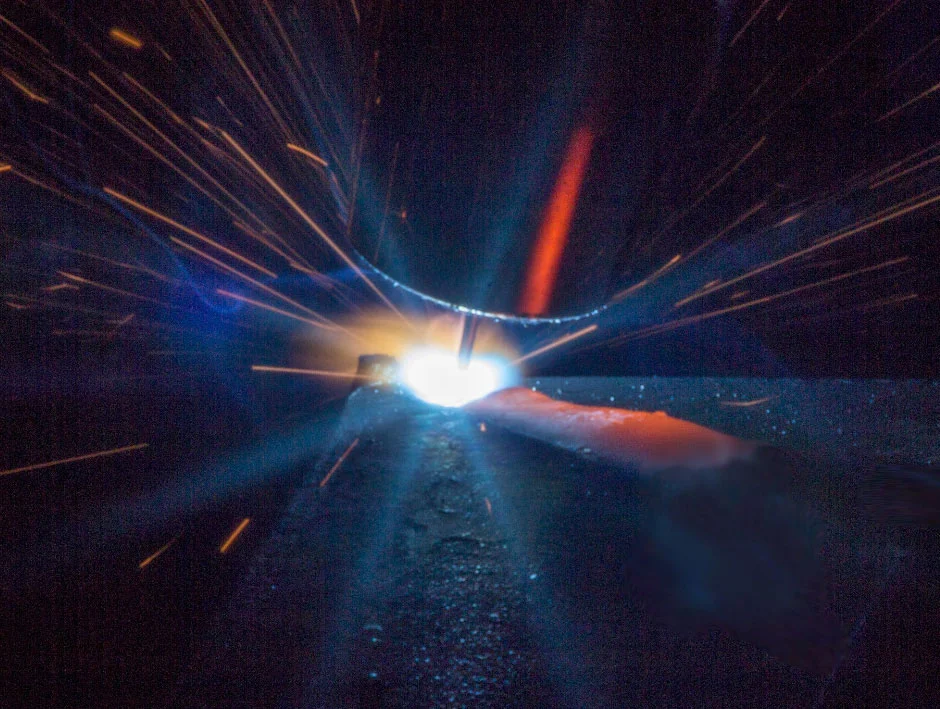
The speed you move the gun is very important too. Going too slowly builds up an oversized bead and going too quickly may diminish penetration. Some welders hold the gun steady as they progress, but there are a variety of techniques for weaving or oscillating the gun that may be beneficial. I encourage you to experiment with subtle changes in the way you move the gun, paying close attention to how each change affects the weld. You can learn a lot by talking to and observing other experienced welders.
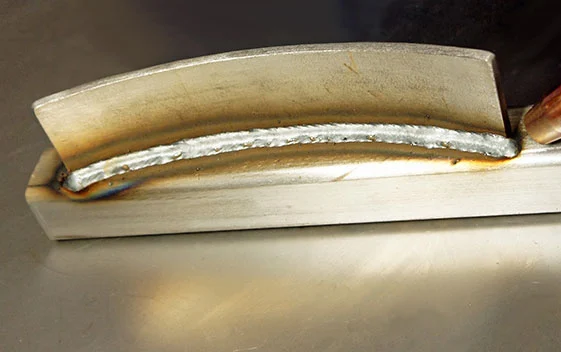
What does a good weld look like?
Ideally, the weld bead should be slightly crowned, with the toes or edges of the bead flowing nicely into the base metal. There should be full penetration, but not so much that there is excessive bleed-through on the back of the joint. The width and height of the bead should be fairly consistent, and there should not be any craters or voids. Many people test their practice welds by holding a welded part in a vise and bending the joint until it breaks. Ideally, the metal NEXT to the weld should fracture before the weld bead does.
It takes a lot of practice to get your welds to meet all these criteria. But by following these MIG welding tips and spending time with your helmet down, your welds will only get better!