Dueling Daisies: Steps for Welding Metal Flowers at Home
Print Article
Get step-by-step instructions for welding flowers from metal artist Tom Patsis of Cold Hard Art.
Metal art project
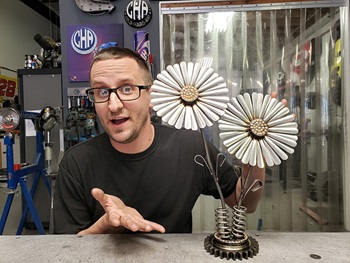
Today I am going to show you how I create my popular Dueling Daisies metal art project. I am going to provide you with the materials need, what machines I use to build them and the steps to complete on your own.
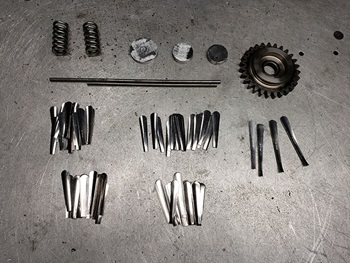
I use a few different materials for the daisies, including spoon handles for the petals. Here’s what you’ll need:
- 64 spoon handles cut 2 1/2" long
- 4 spoon handles cut 3 1/4" for the leaves
- 1 gear for the base
- 2 circles, 1 1/2" by 3/8" thick
- 1 circle, 2" by 1/4" thick
- 2 inner valve springs (you can use any springs you have available to you)
- 2 round bars, 1/4" for the stems — one is 12" long and the other is 9" long
I'm using a Dynasty® 280 DX TIG welder for this project.
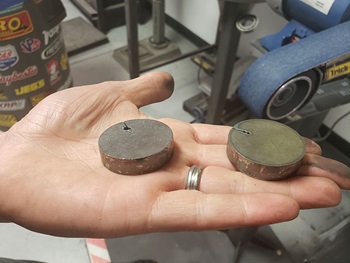
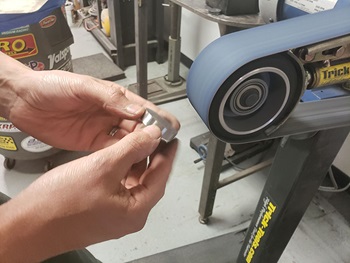
First, I sand the smaller circles to clean the edges and faces from the laser edge and scaling on the face of the metal.
Next, I’ll arrange 16 spoon handles face down around one of the 1-1/2" circles. Whatever spoon you use may be bigger or smaller, so adjust the number of handles accordingly. Evenly space them around the circle. Adjust your welder to 160 amps and use 1/16ER308 stainless rod. Tack all petals into place, then go back around and fully weld all petals. Be sure to focus the heat on the center disk because it’s 3/8” thick.
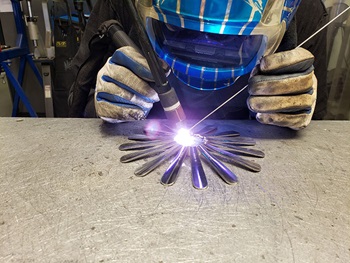
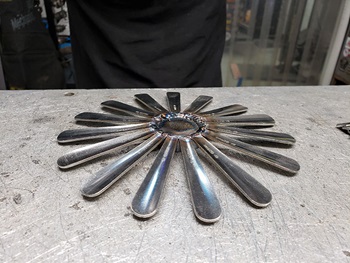
Now it’s time for you to tack your second layer of petals in while holding each spoon handle. Make sure the spoon handles are centered between each petal in the first layer. After all the second-layer petals are tacked into place, you can then go back around and fully weld them in.
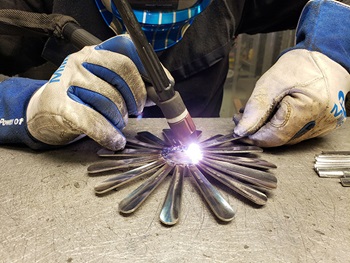
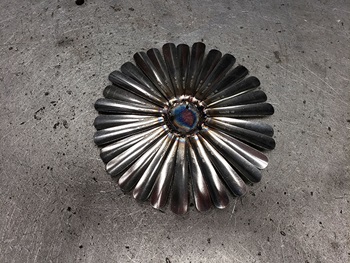
I then repeat these two steps for the second daisy.
Next, you need to put some bends in the stems so they look natural — nothing drastic. The shorter one gets two bends, and the longer one gets three bends.
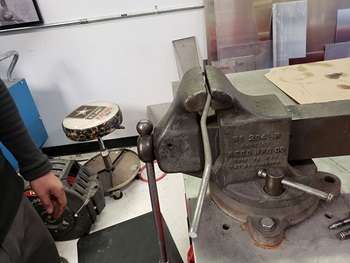
Now that your stems and the flowers are done, it’s time to weld the stems to the back of the daisy heads. Here I am simply melting the metal from the stem to the heads.

Set the welder to 120 amps. Grab .045 silicon bronze, and weld little dots on the faces of the daisies. Basically, heat the metal, and then melt the silicon bronze into dots.

To create the base, set the welder to 100 amps and weld the bigger circle with silicon bronze inside of the gear. While I use silicon bronze for the color, you can also use regular stainless steel ER308 if you do not have silicon bronze.
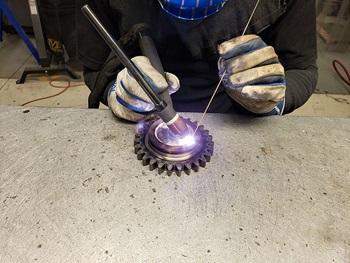
Now, it’s time to attach the flower to its base. Set the welder to 160 amps. Slide the springs onto the stems, then stand the taller daisy up on the base at a slight angle slightly off center and weld the stem to the base.
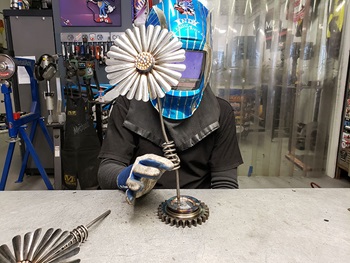
Once the stem is welded to the base, weld the spring to the gear base off the side using the same parameters as above. Repeat these two steps for the other daisy.
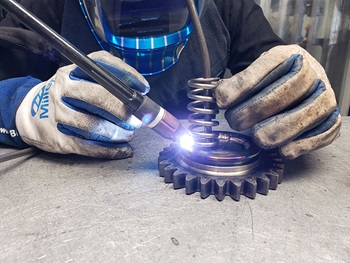
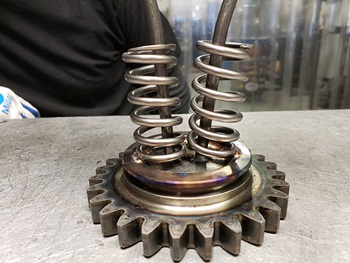
You’re now ready to add the leaves. Bend the remaining spoon handles that are 3-1/4" long to look like leaves.
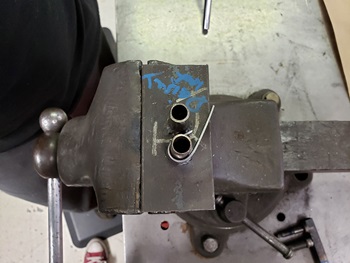
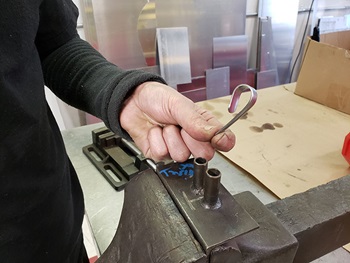
Set the welder to 100 amps and weld on the leaves. I use the material from the spoon handles as filler rod, so I’m basically just melting them to the stems.
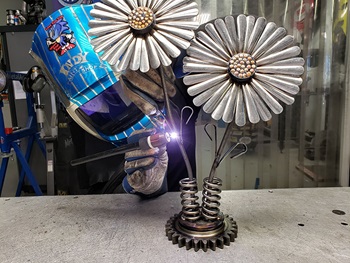
For the finishing touch, I weld dots onto the base for contrast. I set the welder to 100 and use silicon bronze to make them.
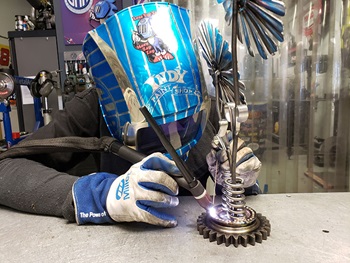
Here is the finished product! Hope you’ve enjoyed our TIG welding how to today. I will be back to show you another build in the future. Thank you for reading along!
About Tom Patsis
Tom Patsis is a full-time metal artist and owner of Cold Hard Art. After studying automotive technologies in high school and earning his degrees in automotive, high performance and alternative fuels at the University of Northwestern Ohio, Tom moved to Indianapolis to work for Don Schumacher Racing. He spent six years with the Pro Stock team before he switched to working in the fabrication shop. It was there that he got started with metal art by welding and building for practice — later opening up his own shop to use as an outlet for his creativity.
Feeling inspired? Check out our project page for more DIY welding projects, including step-by-step guidance, videos and downloadable plans.
CHECK IT OUT