Article
How to Choose MIG Welding Consumables to Optimize Productivity
Labor is 85 percent of a welding operation’s costs. Learn how the right consumables can improve productivity and minimize downtime.

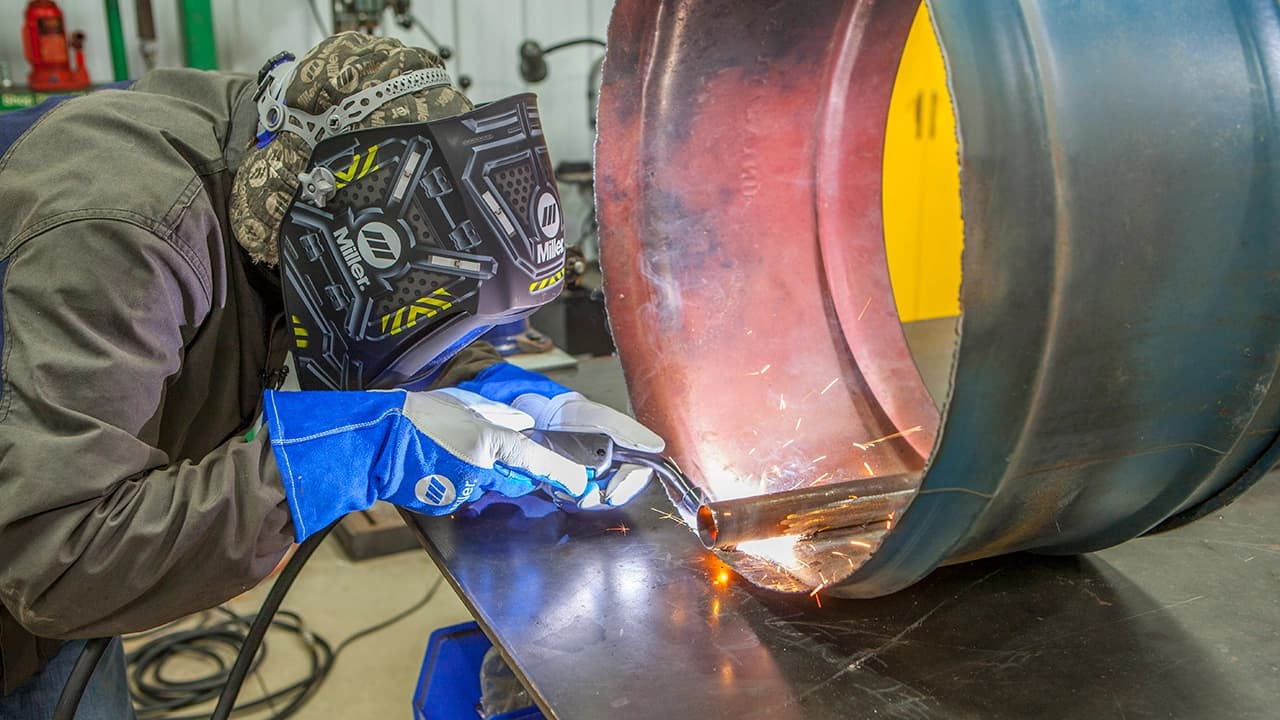
Ensuring your MIG welder is configured for optimal performance is crucial. If you find yourself asking questions such as "Am I using the proper voltage?” or “Do I have too much or too little wire?” then this article is for you. Here, we will touch on the essentials of setting up your welder and interpreting your weld bead.
Good equipment makes MIG welding easier, while poor equipment can cost you dearly in frustration and weld quality. For welders seeking superior performance and reliability, the Millermatic® 211 PRO and Millermatic 142 are excellent choices. These machines are designed to handle demanding tasks with precision and efficiency.
If, however, you’re looking for a machine with multiple welding capabilities, we recommend multiprocess welders like the Multimatic® 215 PRO and Multimatic 220 AC/DC. These versatile machines offer the flexibility to tackle a variety of welding projects, making them ideal for those who need a single solution for multiple welding processes.
Some welding machines include technological advancements, such as Auto-Set™ technology, which sets optimal parameters automatically based on material thickness and wire diameter. This allows you to focus on proper technique for beginners or decrease set up time for increased productivity.
No matter which welding machine you use, always start by reading the owner's manual. It holds vital information for safe and efficient operation. Many companies also provide their manuals online for easy access.
Whether you’re a seasoned pro or an enthusiastic hobbyist, having the right setup and proper settings on your MIG welder is key to achieving outstanding results.
The following recommended MIG welding settings serve as a helpful guide for welding steel with solid wire. These tips consider factors such as joint design, position, and other variables. Once you achieve the desired results, take note of the parameters for future reference or simplify your process by using Auto-Set technology to streamline parameter adjustments.
| For wire size | Multiply by | Example using 1/8 inch (125 amps) |
|---|---|---|
| .023 inch | 3.5 inches per amp | 3.5 x 125 = 437.5 ipm |
| .030 inch | 2 inches per amp | 2 x 125 = 250 ipm |
| .035 inch | 1.6 inches per amp | 1.6 x 125 = 200 ipm |
| .045 inch | 1 inch per amp | 1 x 125 = 125 ipm |
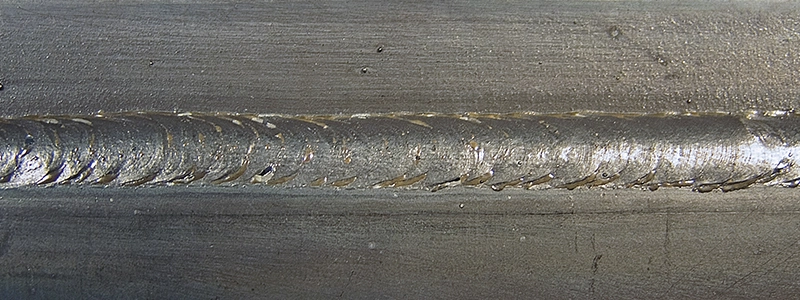
One way to check your MIG welding settings is by examining the weld bead. Its appearance indicates what needs to be adjusted.
Notice the good penetration into the base material, flat bead profile, appropriate bead width and good tie-in at the toes of the weld (the edges where the weld metal meets the base metal).
Too much voltage is marked by poor arc control, inconsistent penetration and a turbulent weld pool that fails to consistently penetrate the base material.
Too little voltage results in poor arc starts, control and penetration. It also causes excessive spatter, a convex bead profile and poor tie-in at the toes of the weld.
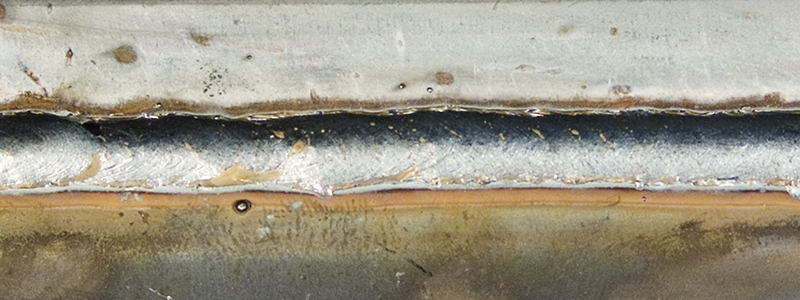
A narrow, convex bead with inadequate tie-in at the toes of the weld, insufficient penetration and an inconsistent weld bead are caused by traveling too fast.
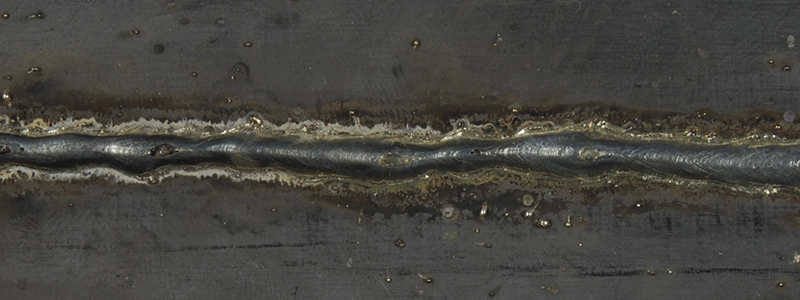
Traveling too slow introduces too much heat into the weld, resulting in an excessively wide weld bead and poor penetration. On thinner material it may also cause burn-through.
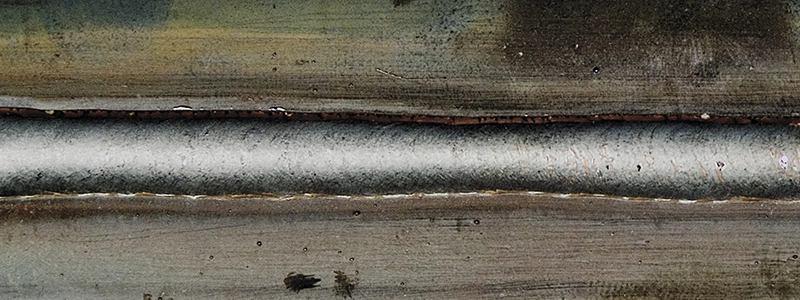
Setting the wire feed speed or amperage too high (depending on what type of machine you're using) can cause poor arc starts, and lead to an excessively wide weld bead, burn-through, excessive spatter and poor penetration.
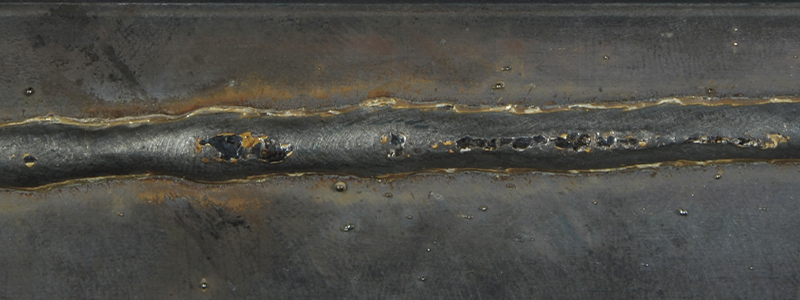
A narrow, oftentimes convex bead with poor tie-in at the toes of the weld marks insufficient amperage.
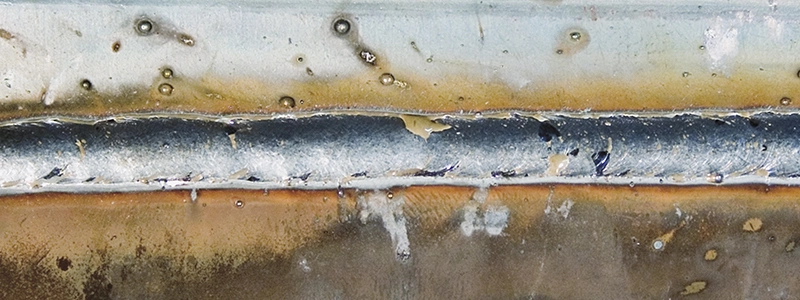
A lack of or inadequate shielding gas is easily identified by the porosity and pinholes in the face and interior of the weld.
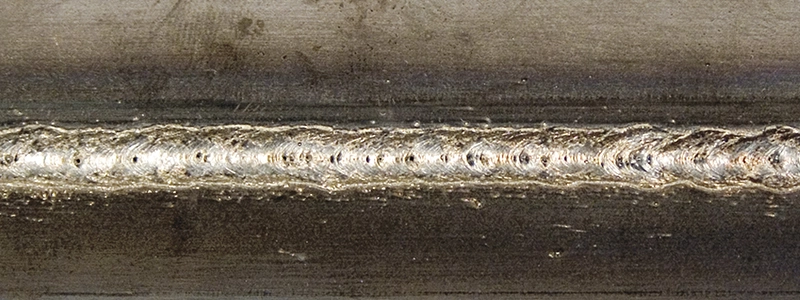
Mastering MIG welding settings is a journey that requires practice, patience, and the right equipment. By understanding the relationship between voltage, wire feed speed and travel speed, you can achieve high-quality welds and improve your overall welding skills.
Posted Jun 30, 2025
Labor is 85 percent of a welding operation’s costs. Learn how the right consumables can improve productivity and minimize downtime.
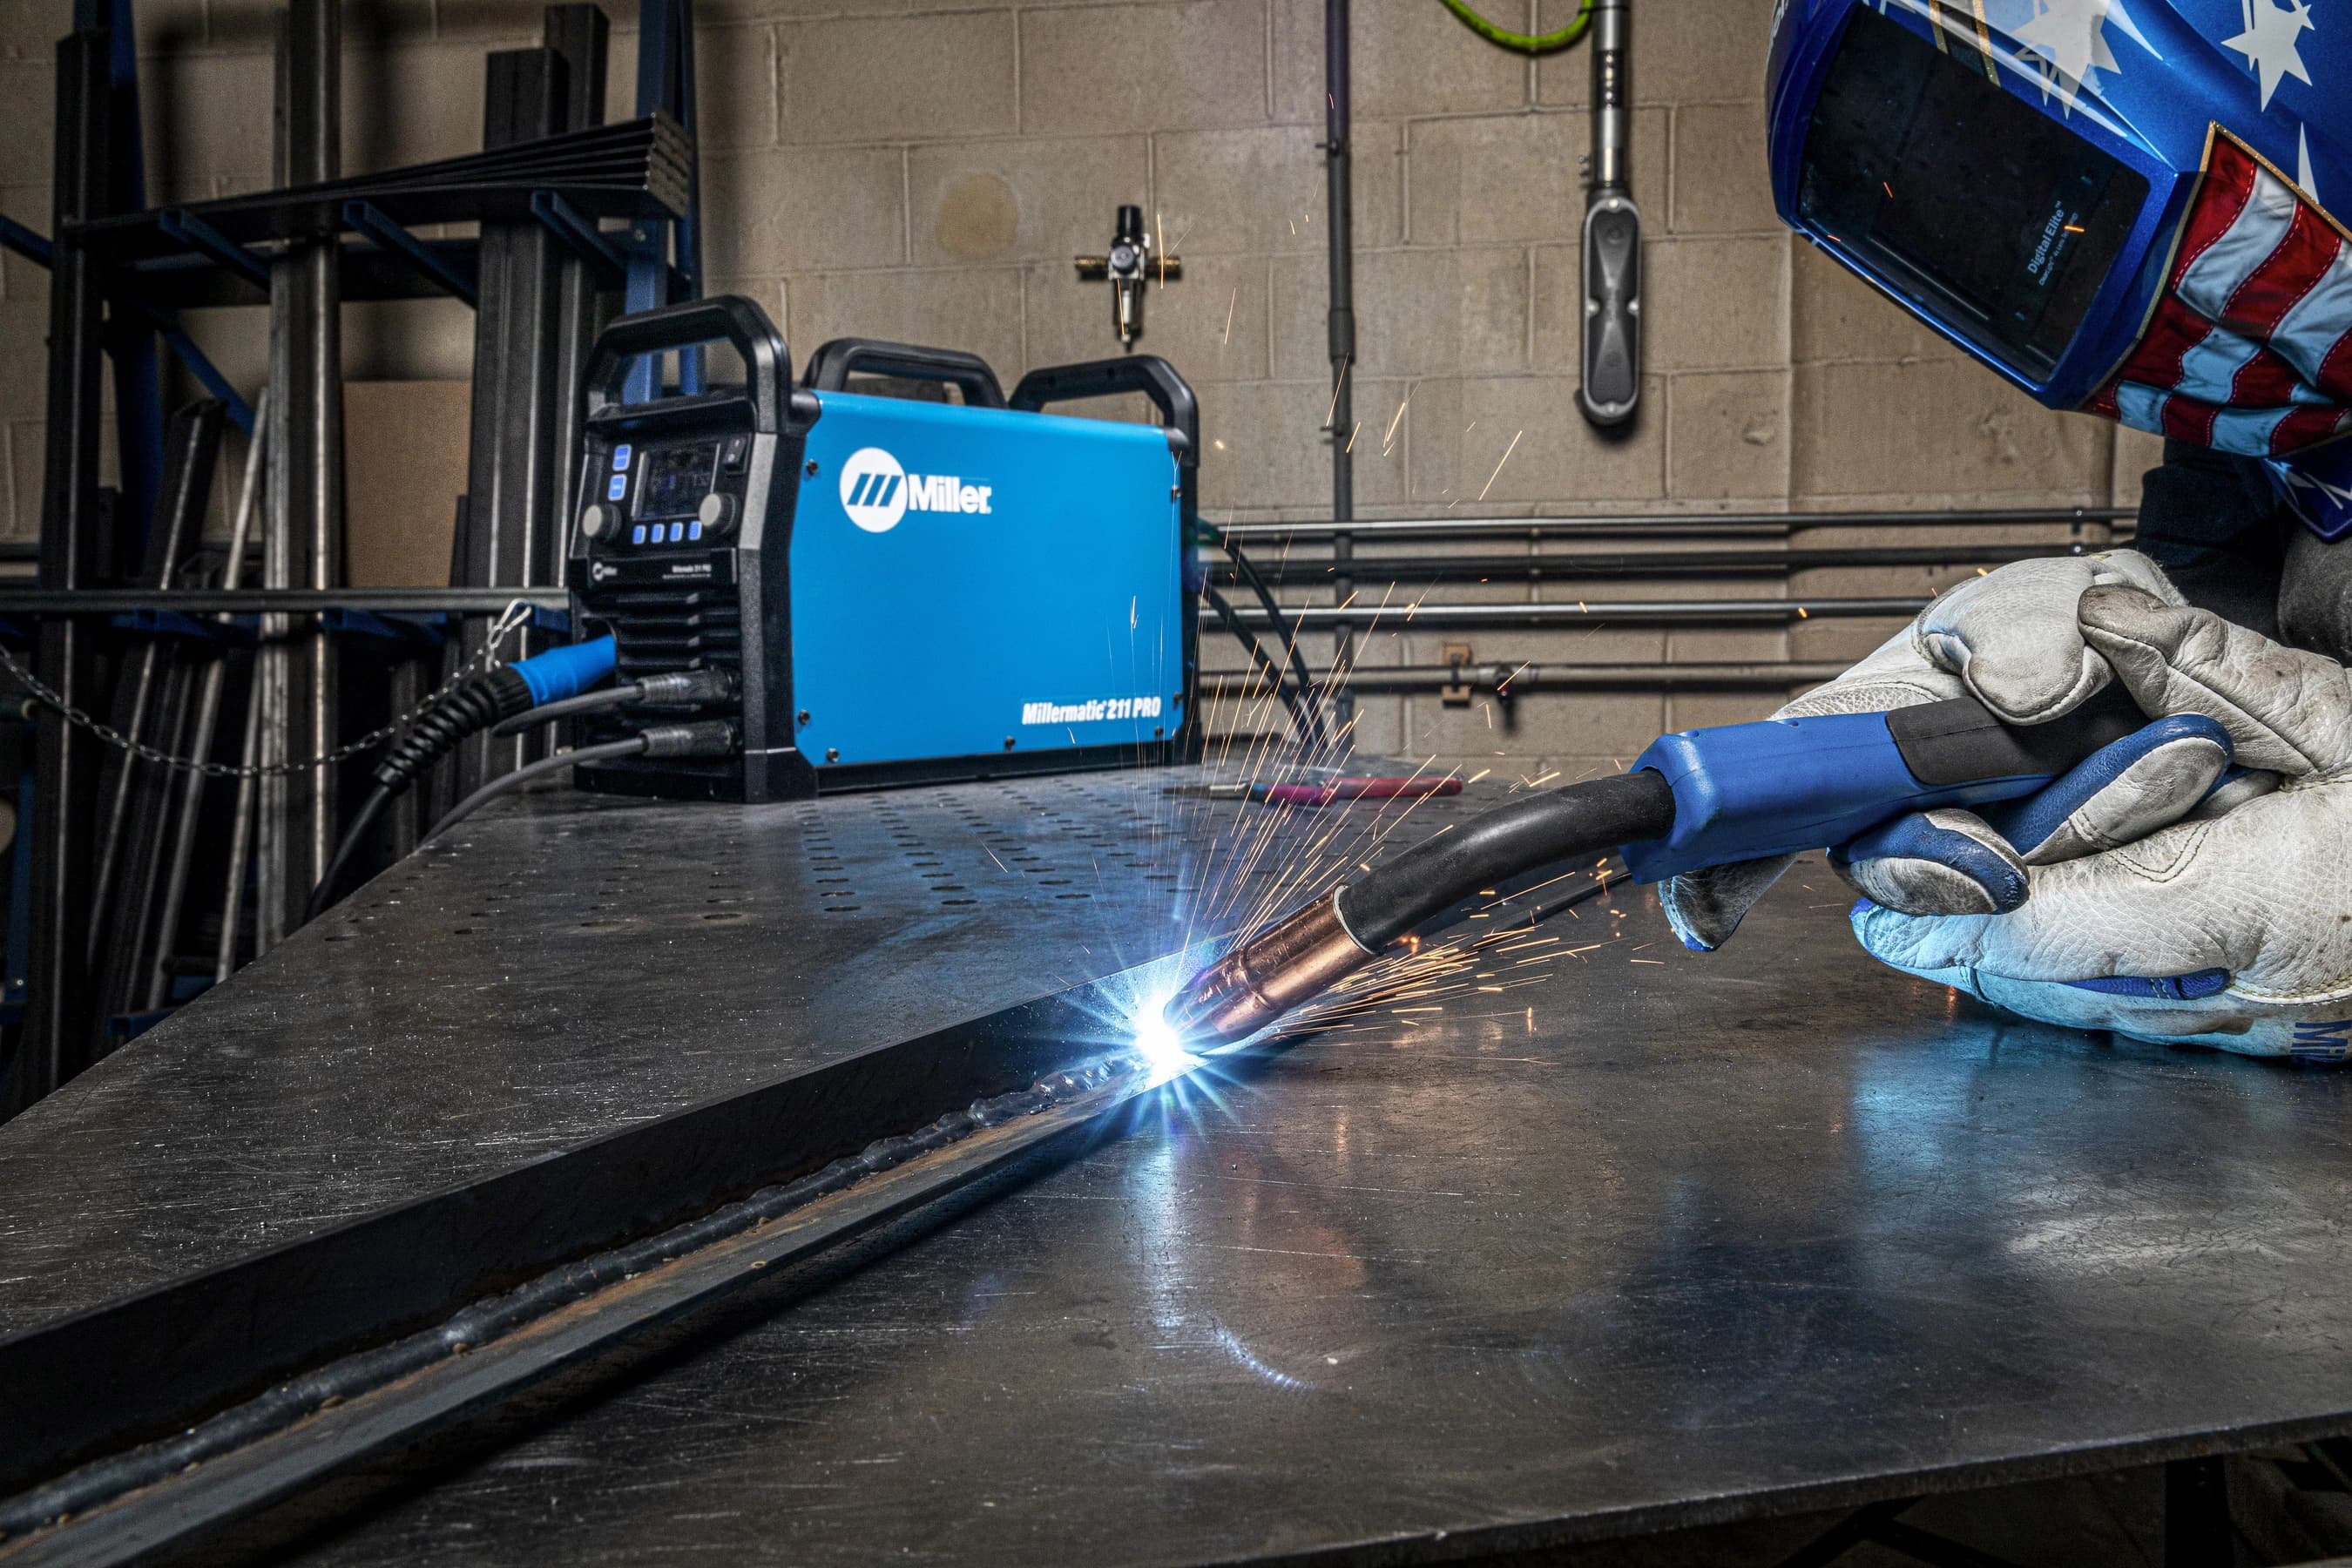
Learn MIG welding basics for beginners — how to use a MIG gun, set voltage and wire speed, choose shielding gas and get the right angle for quality welds.

Choose the right MIG gun with confidence — compare air-cooled, water-cooled, push-pull, spool and fume extraction guns plus tips on amperage and consumables.