Article
Advanced Aluminum Welding Techniques: MIG and TIG Tips and Complex Answers
Get advanced aluminum welding tips in this Q&A. Move past the basics and tackle the challenges of welding aluminum in industrial applications.

Andrew Pfaller
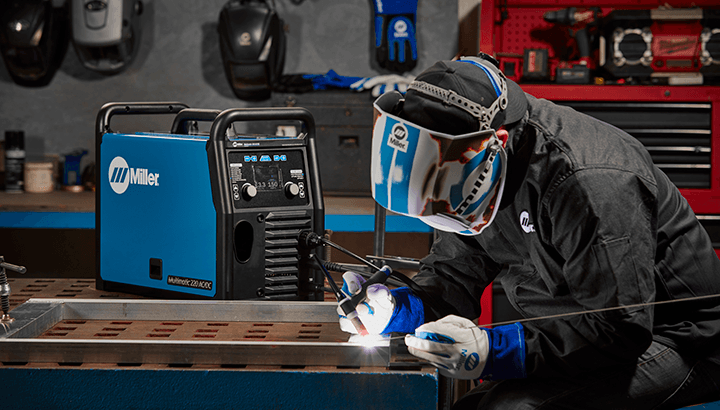
TIG welding aluminum doesn’t need to be intimidating. With a little practice — and some basic best practices to help beginning welders — you can produce the results you want.
Follow our four steps below to practice and advance your aluminum welding with TIG processes.
Beginning TIG welders often unintentionally produce a lot of scrap because they don’t practice basic hand placement and control before striking an arc on the base material. Aluminum acts like a big heat sink and rapidly transfers heat away from the weld area, which makes puddle control crucial to success.
Hand and torch placement are key to puddle control, so it’s important to master torch and hand positioning first. Skipping this step often results in wasting good aluminum.
Tips for proper hand and torch placement:
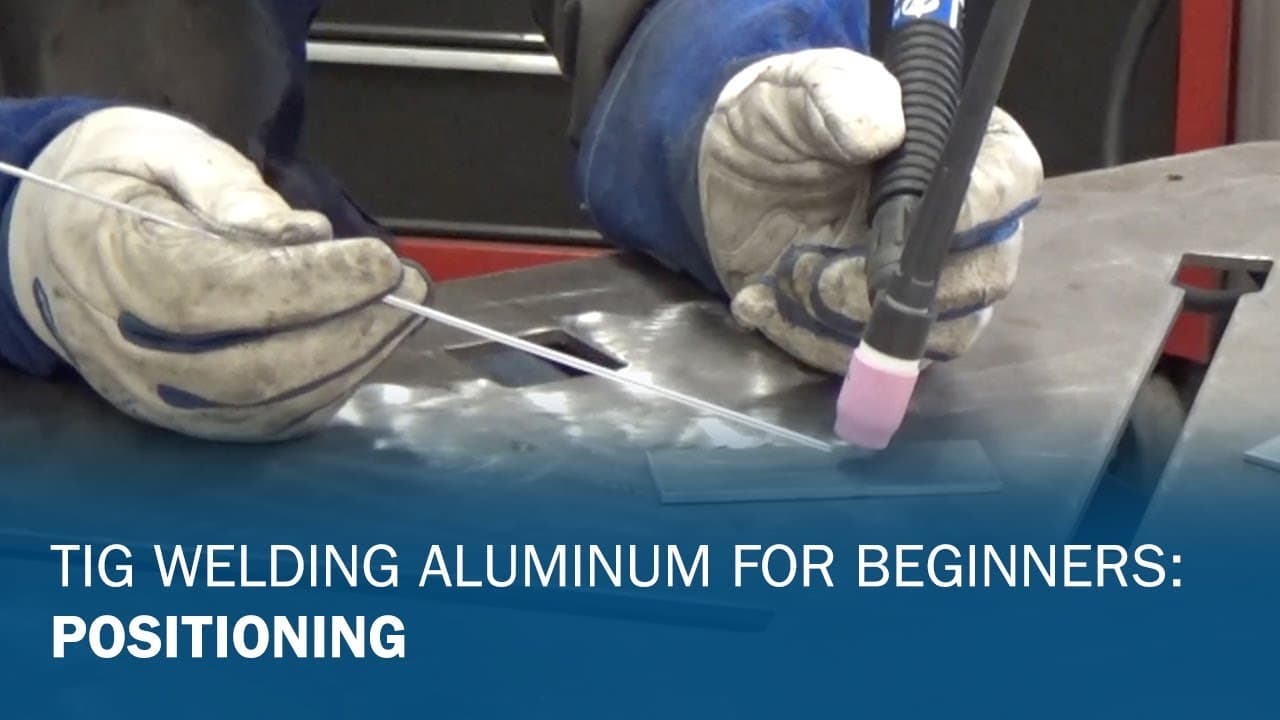
TIG Welding Aluminum for Beginners Part 1: Positioning
Next, you should work on the flow of your hand and torch movement without striking an arc. Practice with gloves on as you would in a normal welding situation.
Practice Tips:
Filler metal deposition takes place ahead of the TIG torch as you push forward. The torch and the filler rod should roughly be in a 90-degree configuration to each other. Always push a torch — never drag it — and always introduce the filler metal on the leading edge of the puddle. One hand is smooth and steady as it slides, while the other hand dabs the filler metal. Practice this without striking an arc.
Most beginners have issues at first with getting their hands to work independently and often end up moving both hands at the same time. As they attempt to dab the filler metal, the tungsten dips too, which usually results in touching the filler metal to the tungsten and contaminating it.
Practice will help you get to where each hand performs its task independently. When you’ve mastered these movements, you’re ready to strike an arc.
Using the tips previously discussed about proper hand and torch placement — and without adding any filler metal — establish the puddle and walk it down the workpiece.
Key considerations:
At the edge of the workpiece, heat builds faster—adjust pedal press accordingly. However, if you don’t put enough heat into the puddle, the puddle will disappear, the arc will become erratic and you’ll do nothing more than etch the aluminum.
The following sequence of photos shows how speed and heat affect the puddle:
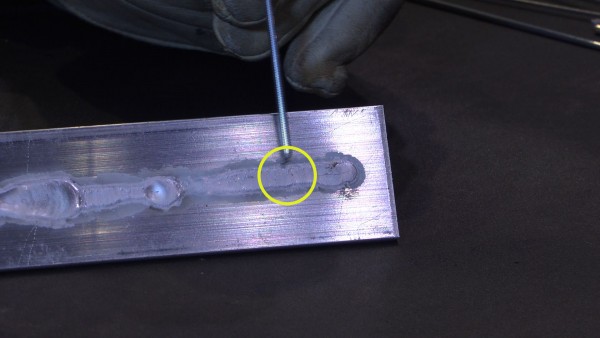
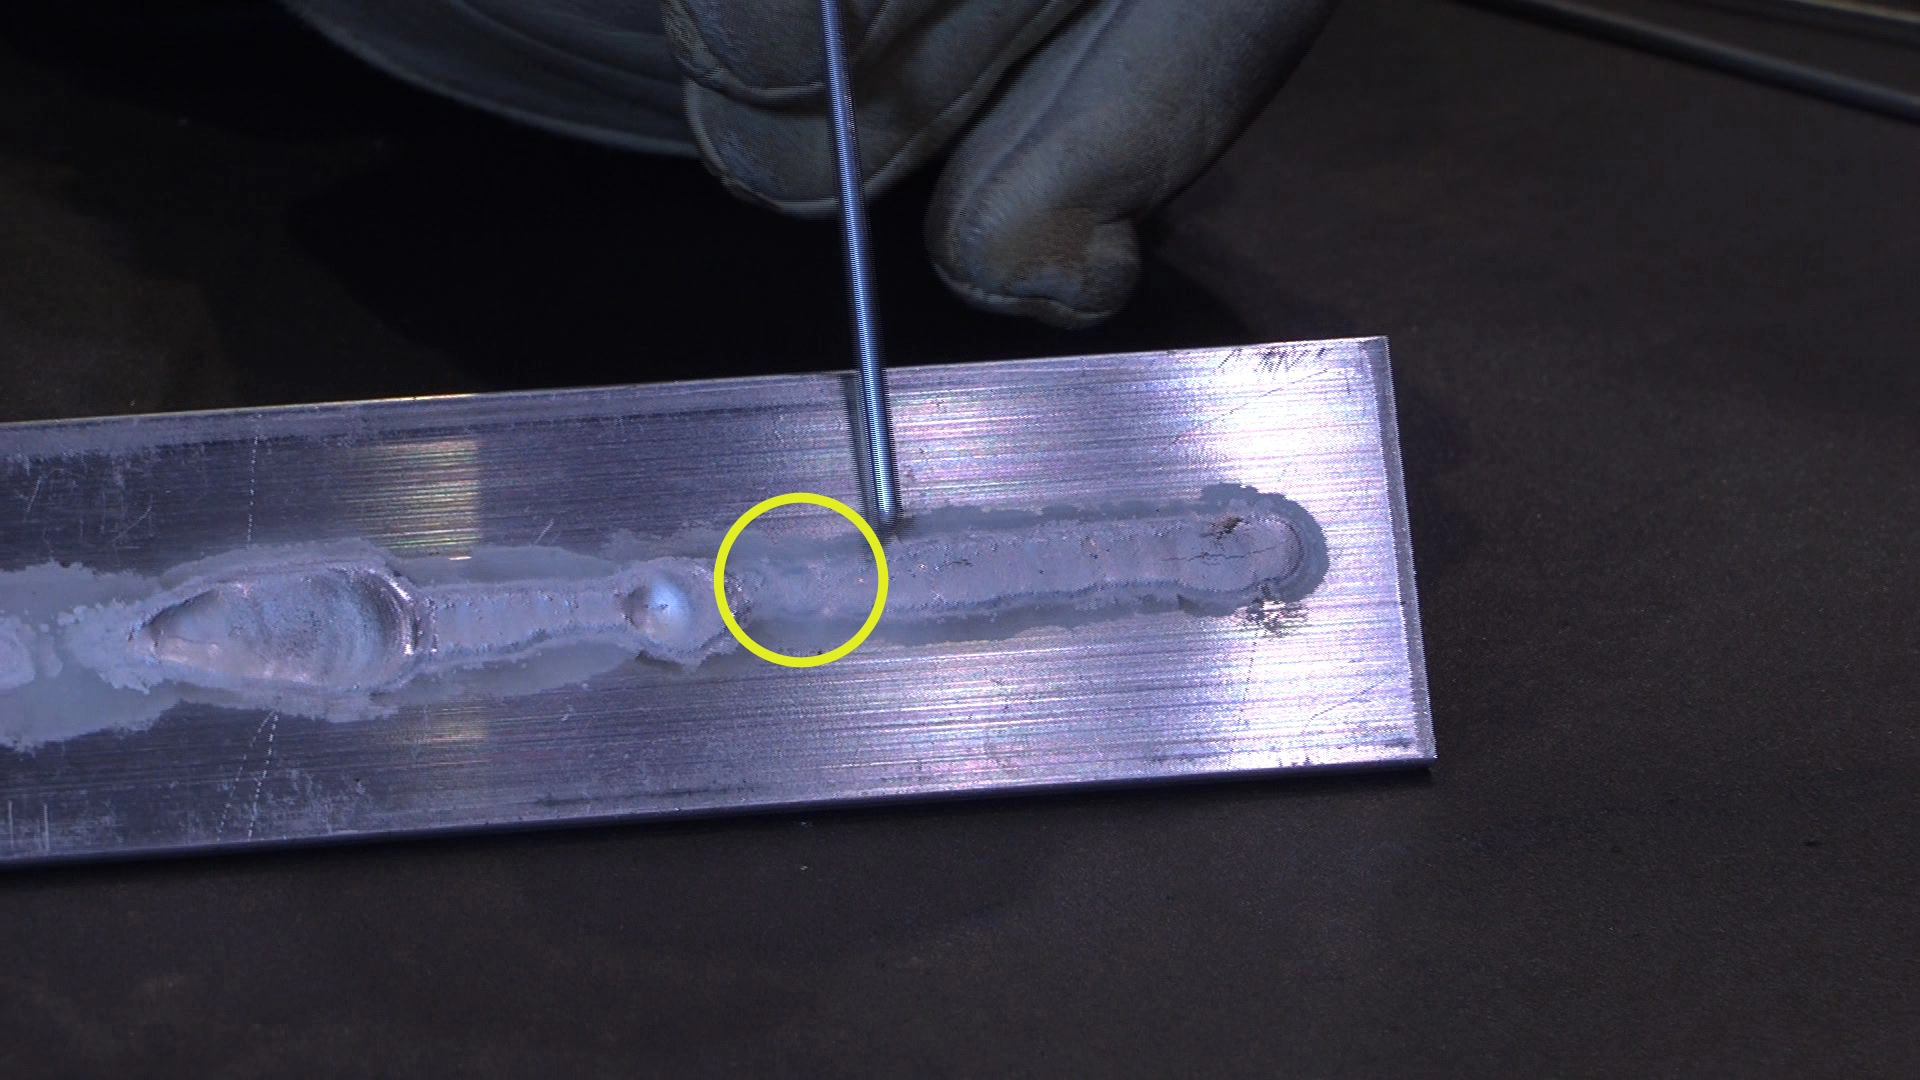
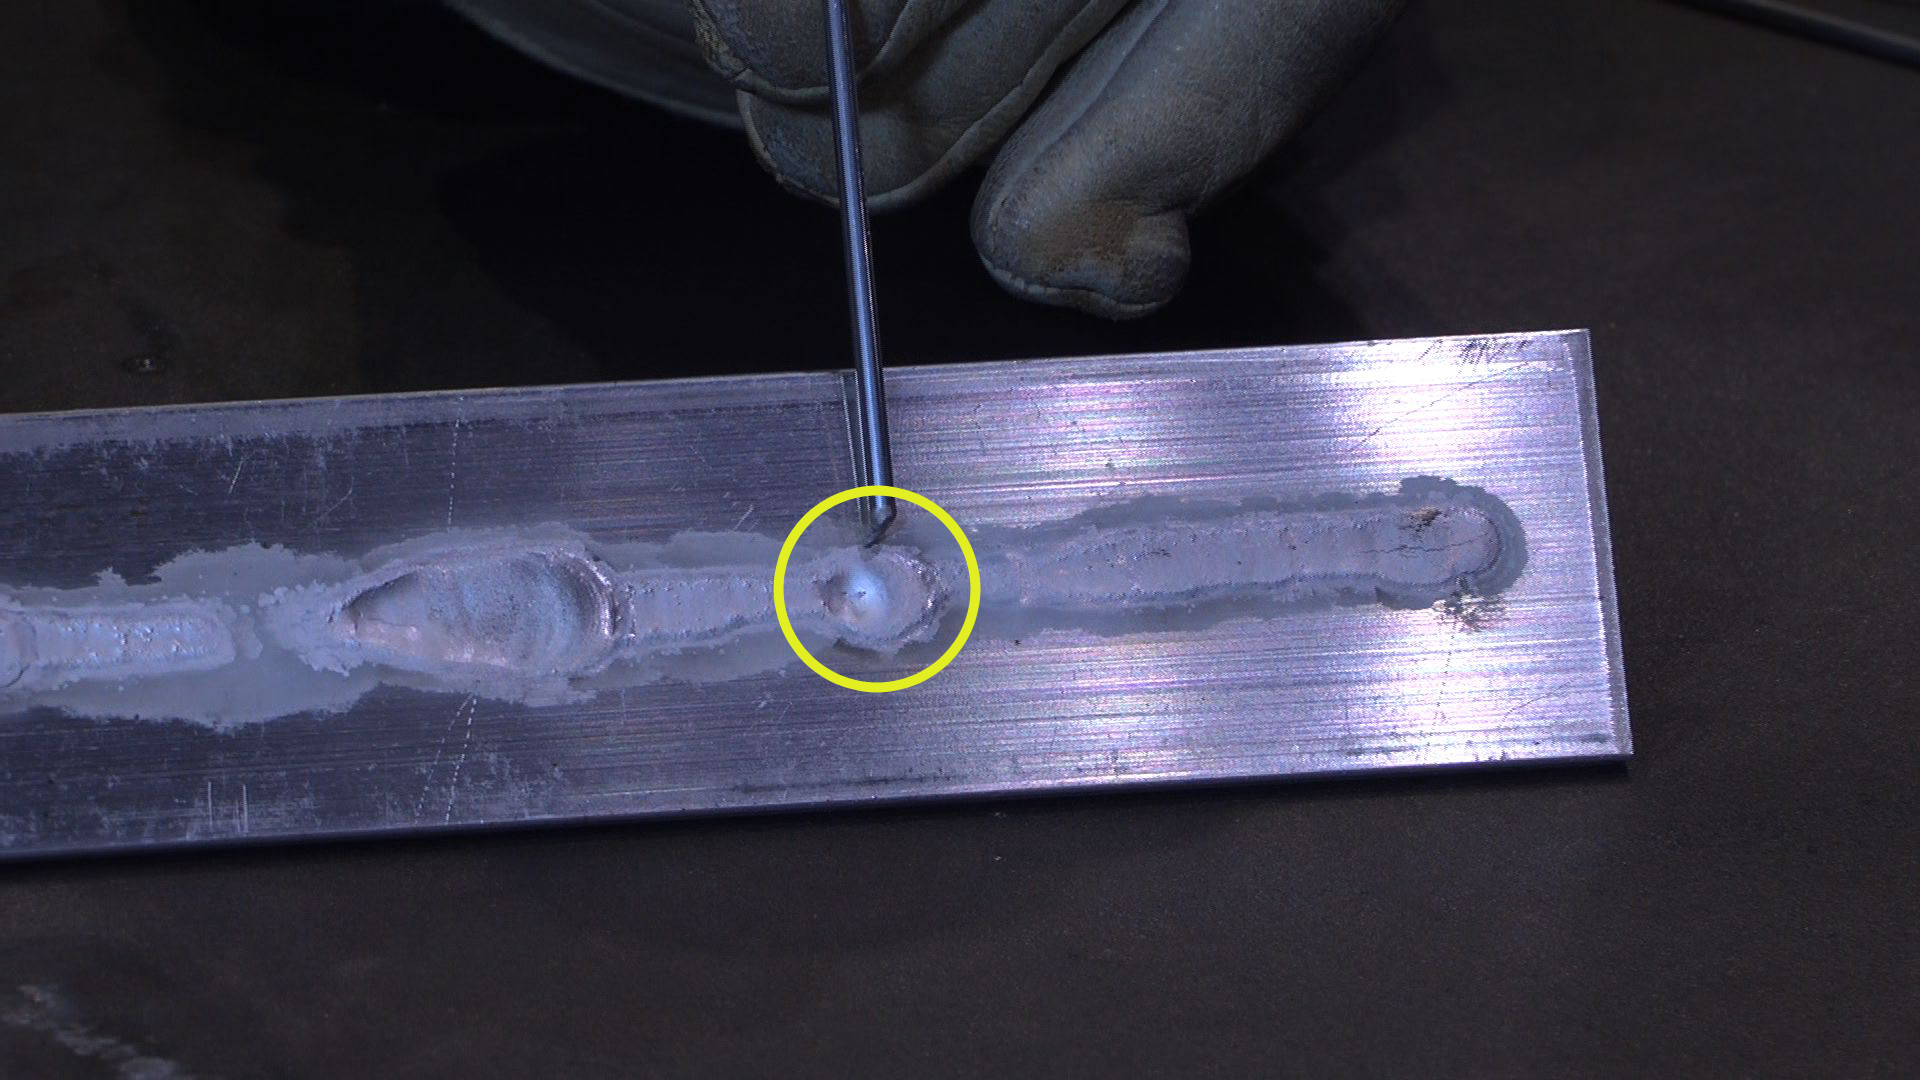
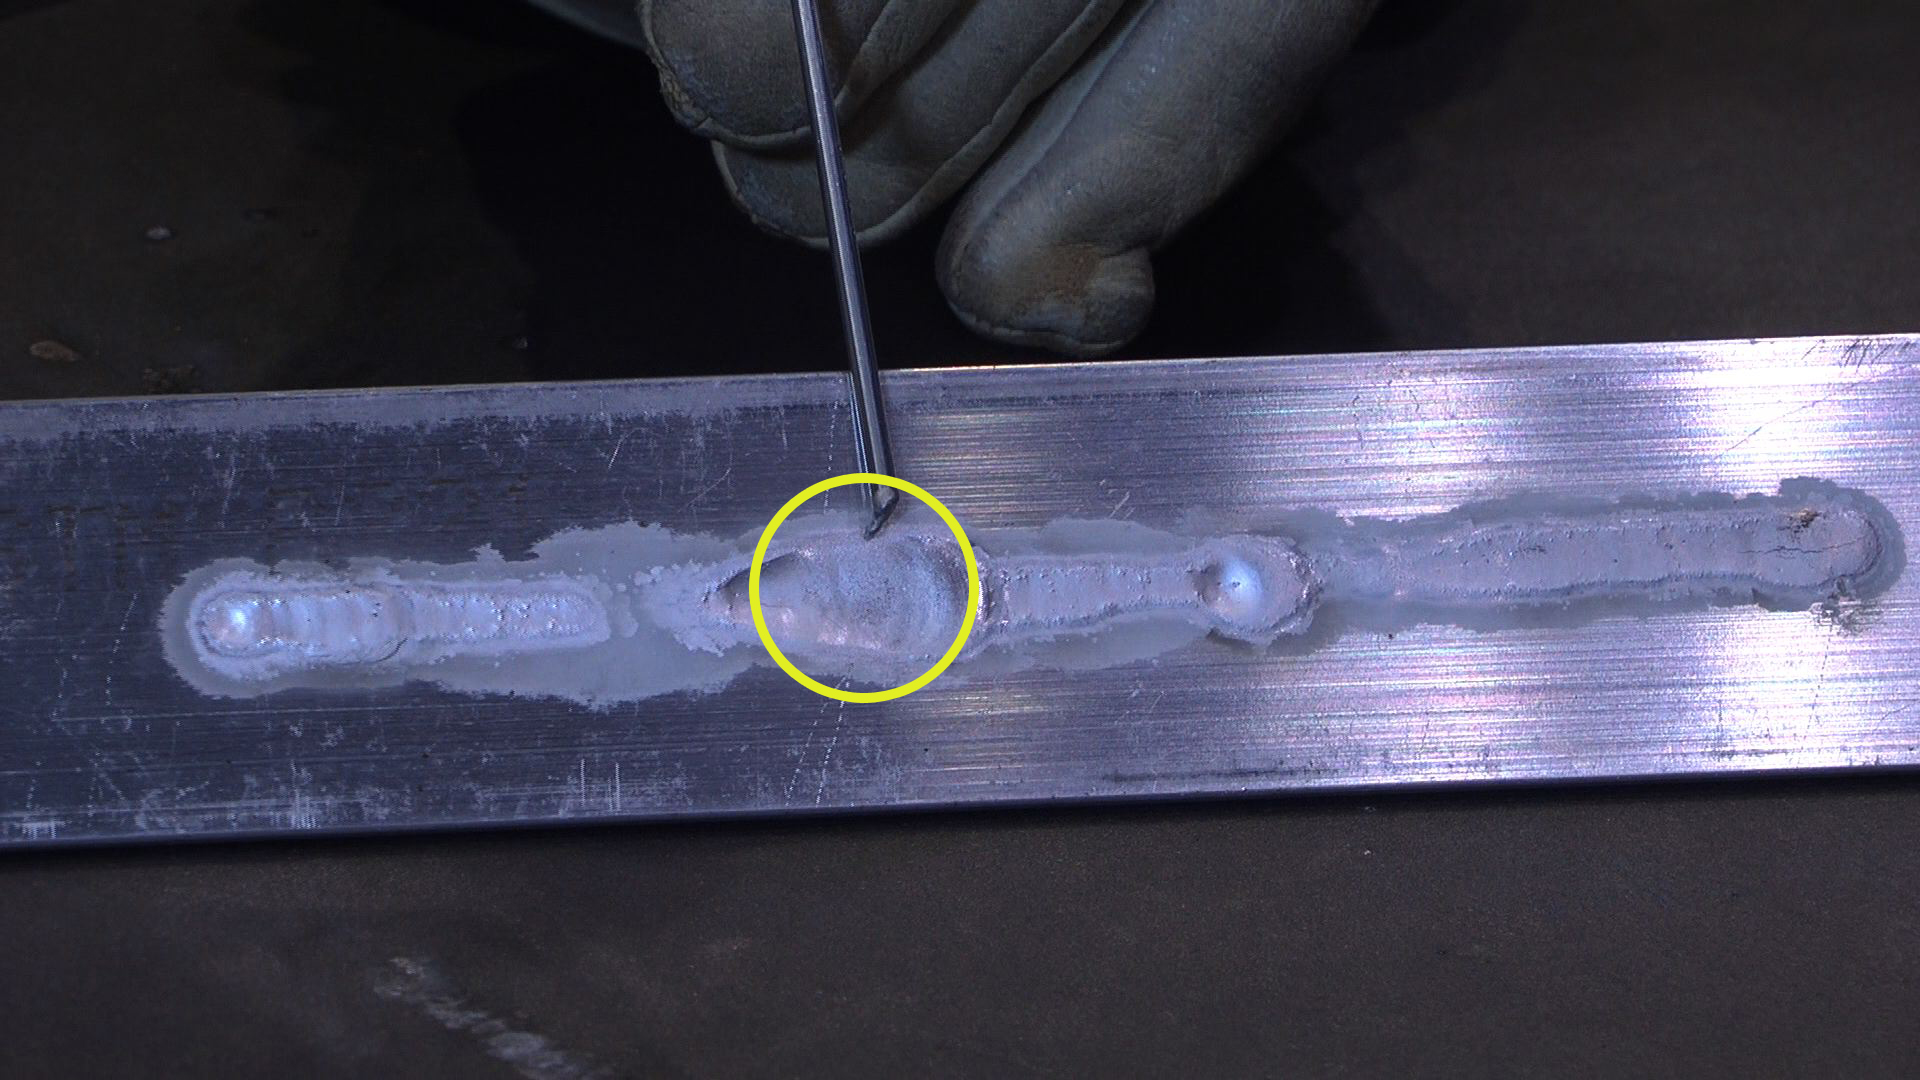
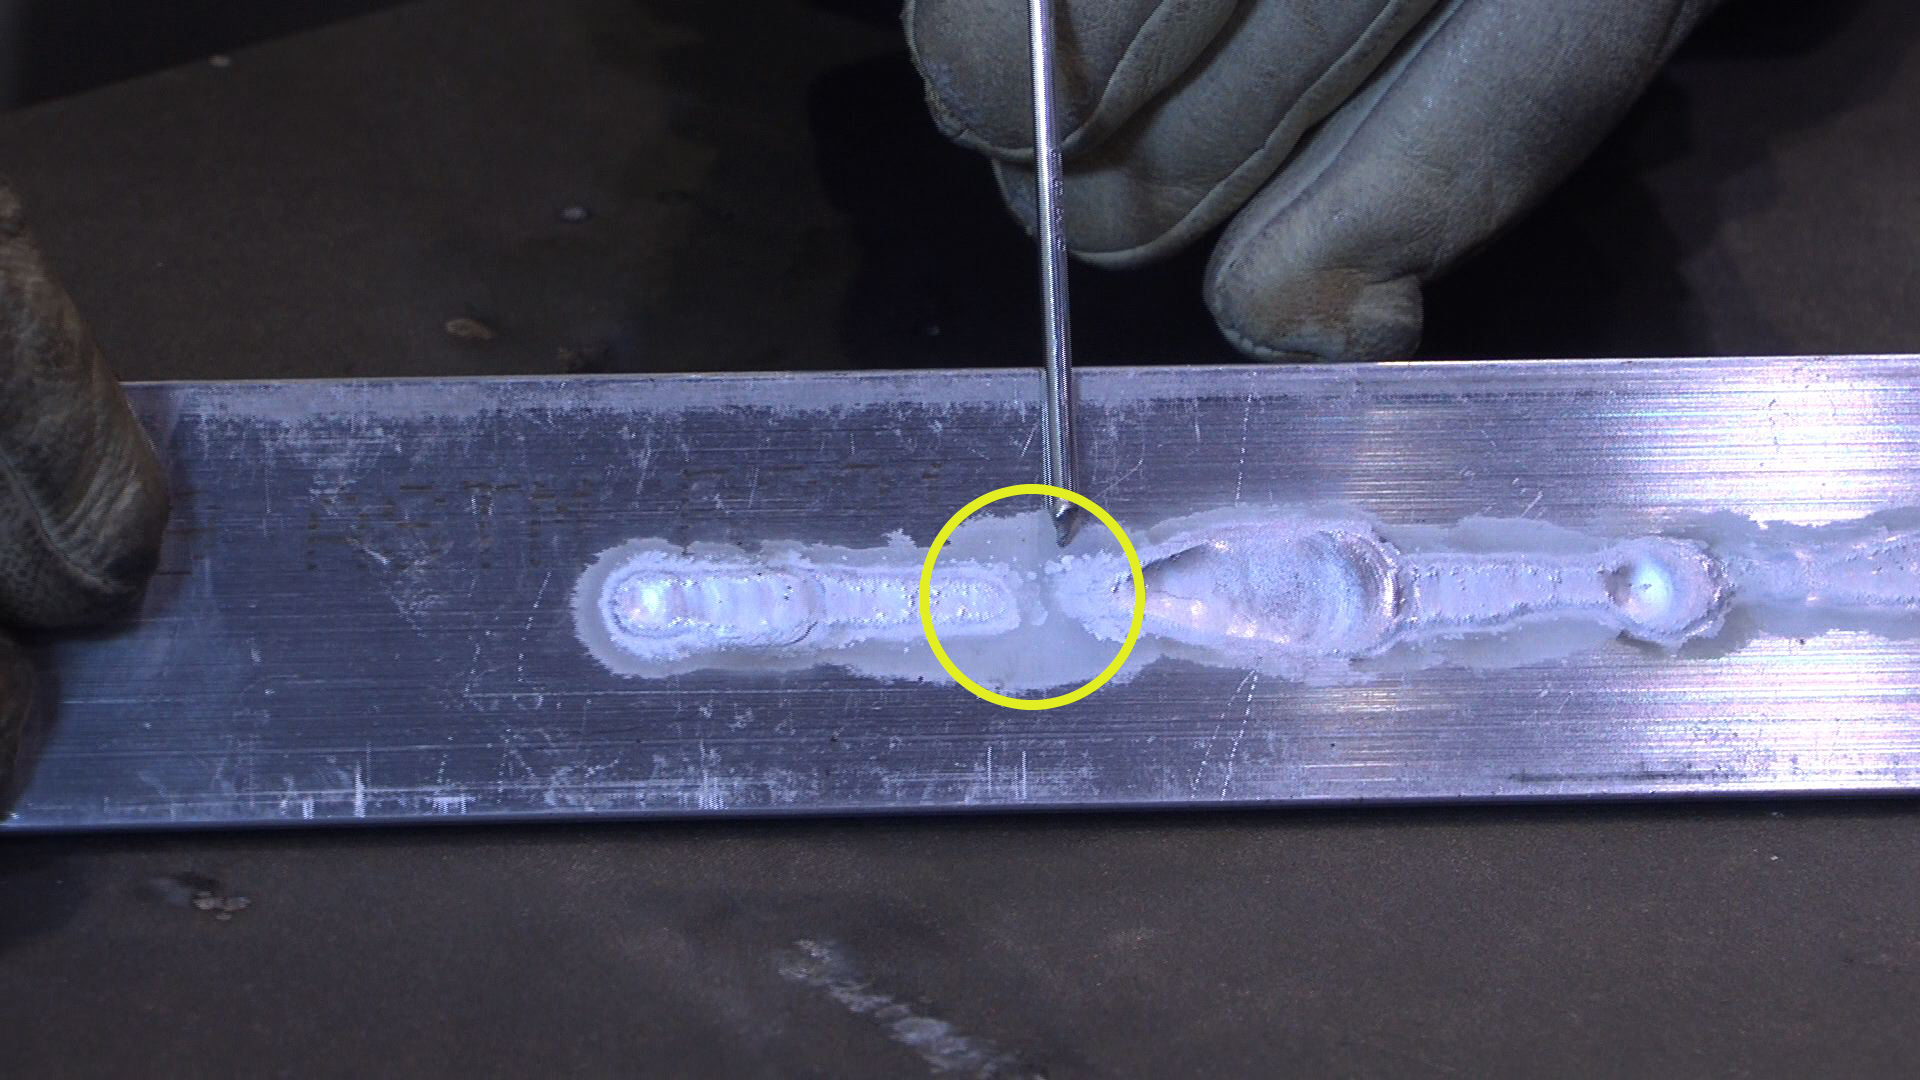
Lay down a puddle like this without filler metal numerous times to practice maintaining speed, distance and puddle width. Because the piece gets hot so quickly, set it aside and pick up another one before continuing. The hotter the piece gets, the more out-of-control the puddle becomes, which makes training difficult.
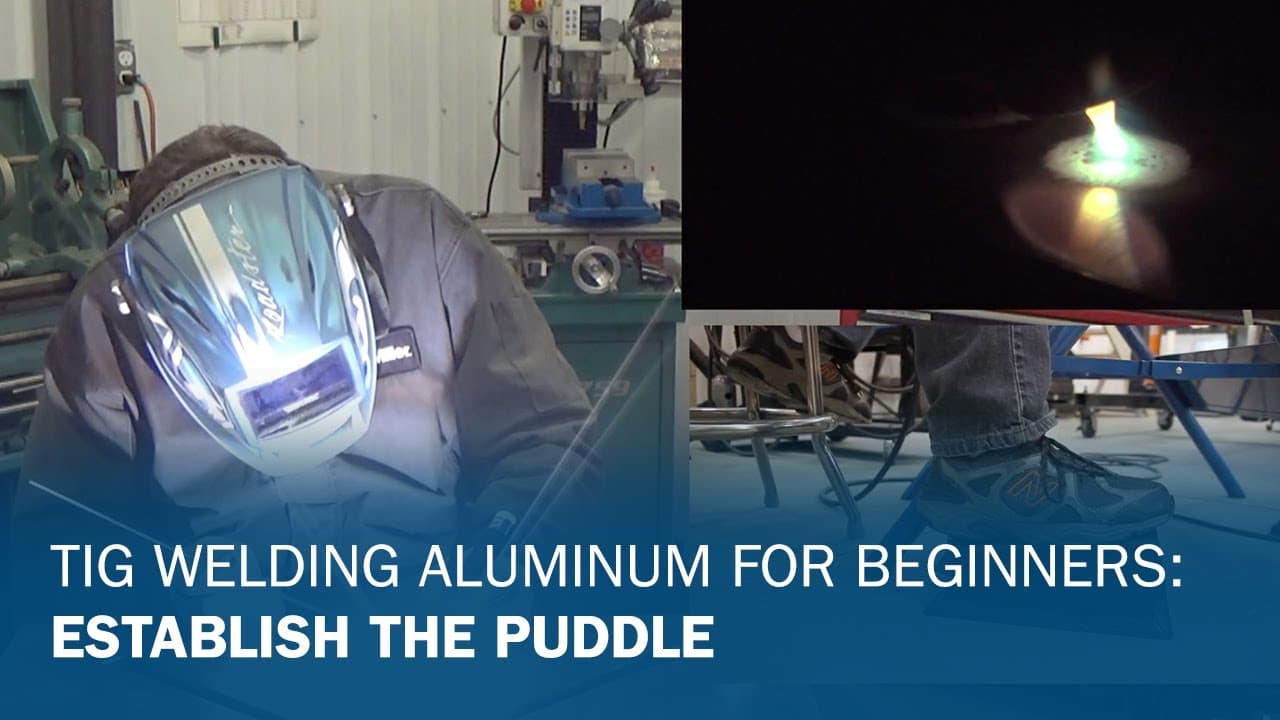
TIG Welding Aluminum for Beginners Part 2: Establish the Puddle
Now that you’ve practiced movement and puddle control, it’s time to add filler metal.
Practice tips:
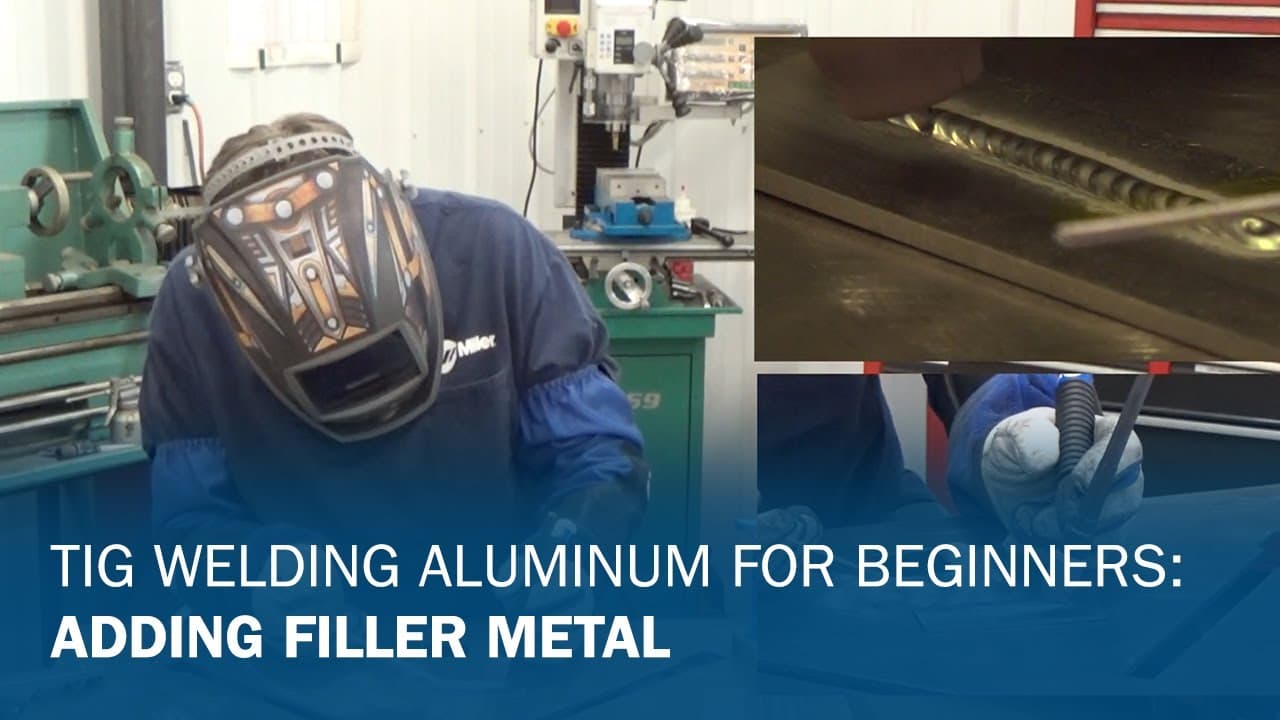
TIG Welding Aluminum for Beginners Part 3: Adding Filler Metal
Some TIG machines allow you to fine-tune your TIG welding arc to better match the joint design or tailor the weld bead appearance to your preference. Besides setting just the amperage based on material thickness, fine-tuning can be done by adjusting balance and frequency.
Key settings to understand:
Balance:
The balance function controls the cleaning, or etching, of the oxide layer off of the aluminum so it can be properly welded without puddle contamination. The lower the balance number, the more cleaning you get, and the higher the number, the less cleaning you get. You might want to change this setting based on your joint design; how heavy the oxide layer is on the aluminum or the desired look of the finished weld bead.
Frequency:
The frequency function focuses the arc, and this setting is useful to tailor your arc based on the joint design. The lower the frequency setting, the wider and lazier the arc is. The higher the setting, the tighter and more focused the arc becomes. Higher frequency settings are helpful when welding in tight areas or where more precision is needed. Lower settings give you a wider, flatter bead that is good for butt joints or areas that need to be built up with weld material.
It’s a good idea to practice with adjusting these settings to see how they can fit your needs and preferences. Taking it slow — and taking the time to practice — can help you reduce aluminum scrap and build your skills as you learn to TIG weld aluminum.
Taking it slow — and taking the time to practice — can help you reduce aluminum scrap and build your skills as you learn to TIG weld aluminum.
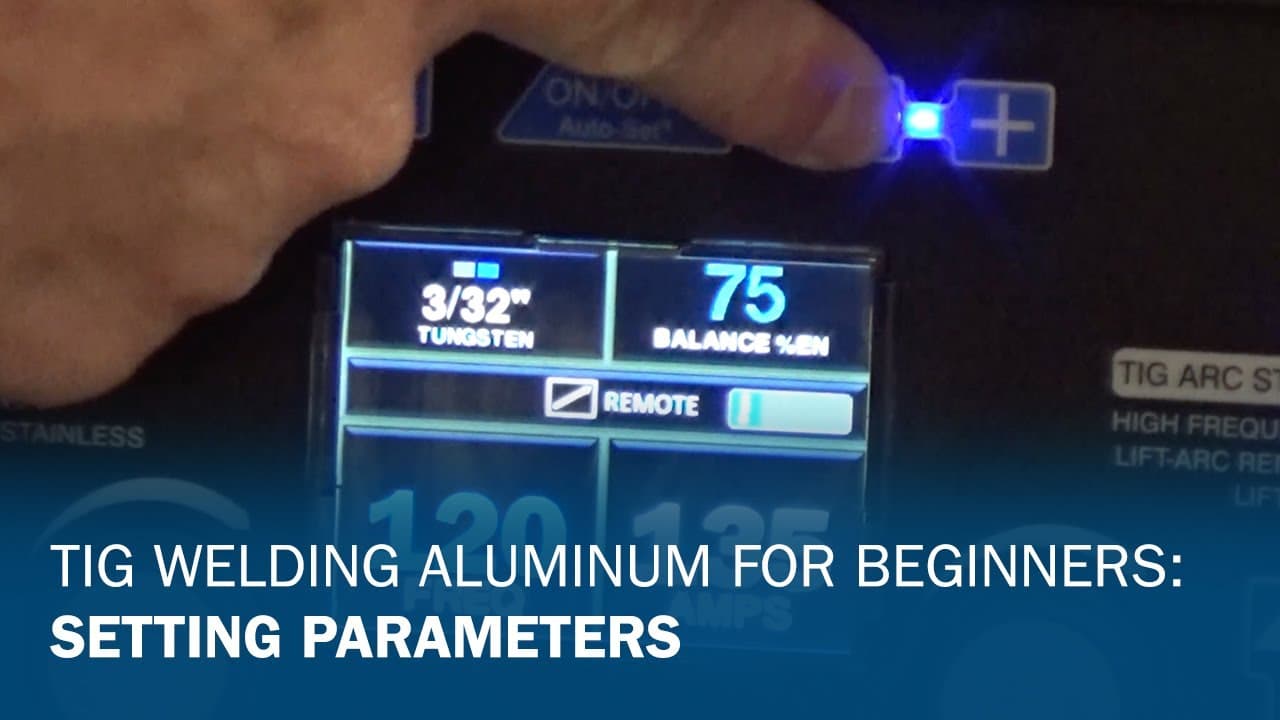
TIG Welding Aluminum for Beginners Part 4: Setting Parameters
Posted Oct 6, 2025
Get advanced aluminum welding tips in this Q&A. Move past the basics and tackle the challenges of welding aluminum in industrial applications.
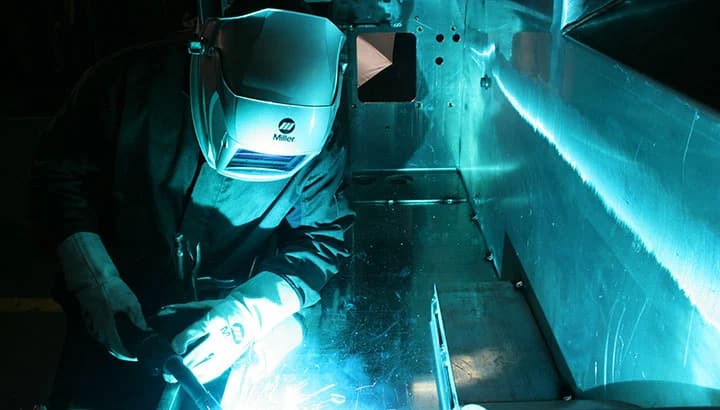
Aluminum doesn't have to be difficult to weld. Learn best practices for MIG and TIG welding aluminum in industrial fabrication and manufacturing.
Learn how modern handheld laser welding systems overcome aluminum reflectivity and heat challenges for consistent welds.