
MillerWelds Logo

DIY Welding Project: Swinging Light Shop Mount [Guide]

Andy Weyenberg

Welding Project: Swinging Light Shop Mount

Welding Project: Swinging Light Shop Mount

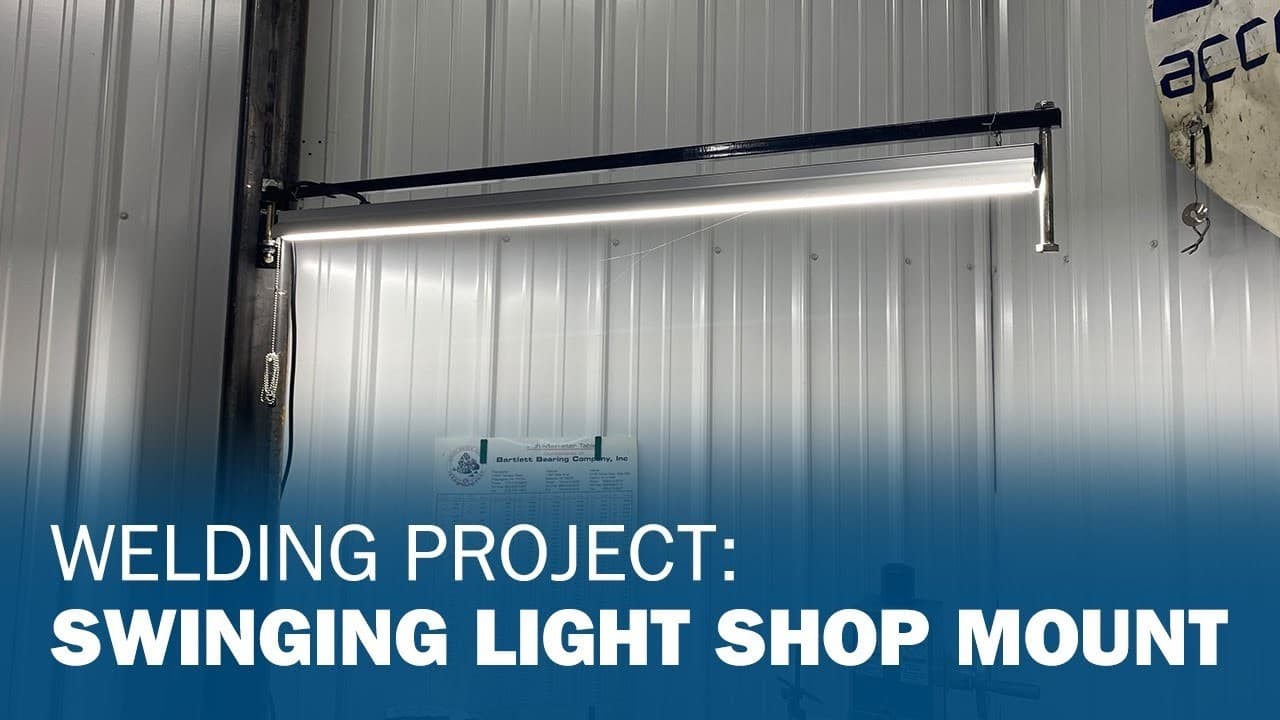
When your eyesight is challenged in your shop or garage, a swinging, adjustable light will be the perfect addition to your welding space!

Swinging Light Shop Mount Project Plans

Tools and Materials


  • Multimatic® 220 AC/DC
  • Drill or drill press
  • 5/16" drill bit
  • 13/32" drill bit
  • 3/32" drill bit
  • 1/2" drill bit or step drill bit
  • Bandsaw or cutoff wheel
  • C-clamps
  • 3/8" – 16 UNC tap
  • 9/16" wrench
  • 3/4" wrench/socket
  • Hammer
  • Transfer punch
  • 4' LED shop light (chain pull switch attached)
  • 50" of 3/4" square tubing (the length of the square tubing is determined by the length of your shop light)
  • 1-1/2" × 1/8" flat stock
  • 4-1/2" × 1/2" bolt
  • 6" × 1/2" bolt
  • 3/8" bolts (Qty. 2, used to mount to steel structure)
  • Nyloc nuts (Qty. 3)
  • 1/2" washers (Qty. 2)
  • 123 machinist block or welding square
  • .40 stainless safety wire


WARNING: READ AND FOLLOW ALL LABELS AND THE OWNER’S MANUAL.

Andy Weyenberg

Andy Weyenberg

Andy Weyenberg began welding at his father’s business a few years before joining the Army. After going to school for Electro-Mechanical, he started working for Miller Electric Mfg. LLC as a technical service rep and training instructor. Andy has built and raced stock cars since he was a teenager — and now builds high-performance street vehicles. 

Garage-Shop

Posted Sep 19, 2024