

Digital Performance™
Lightweight helmet with superior headgear for increased efficiency. Features ClearLight™ 4x Lens Technology.

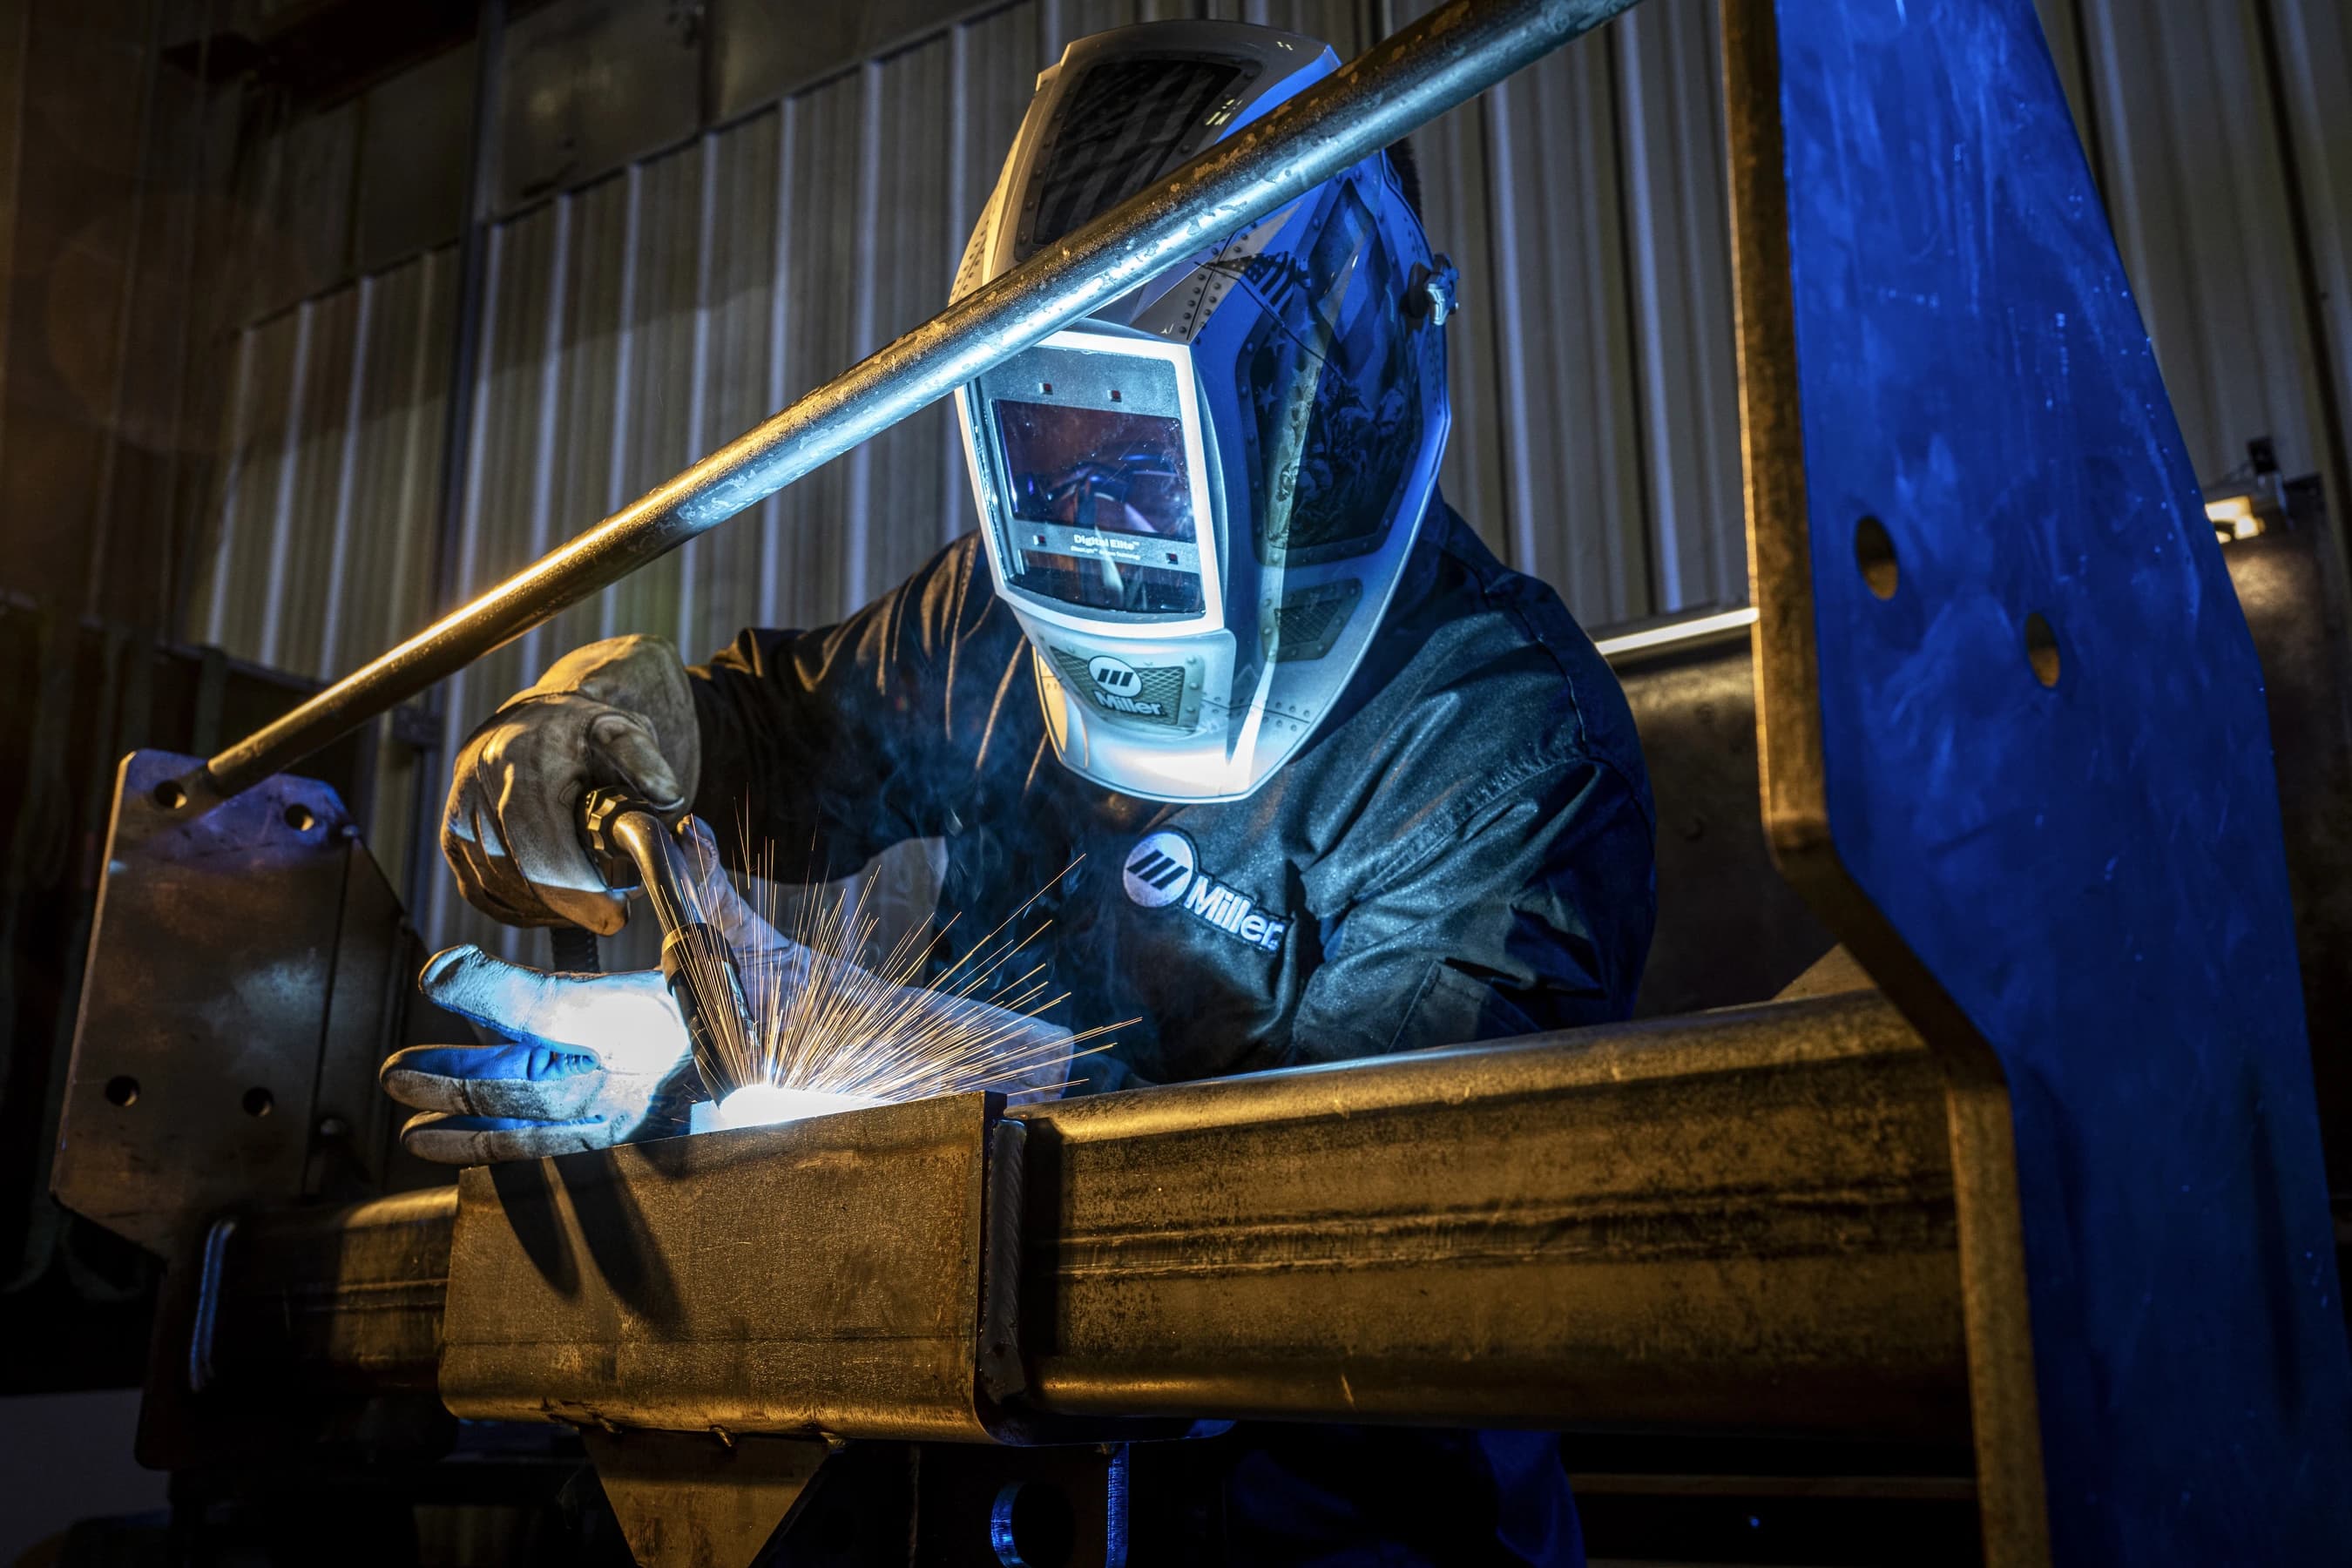
The use of quality personal protective equipment and safe welding practices must be a top priority for welders, regardless of the type of welding process. Welding PPE includes, but is not limited to, eye, face, hand and body protection. Safety glasses should always be worn under the helmet. In addition, the welding environment should be evaluated to ensure appropriate ventilation and respiratory protection.
One of the foundational features of any helmet is safety and compliance. In the United States, welding helmets need to meet ANSI standards — and in Canada the helmets need to be CSA compliant. General standards ensure that the helmet lens protects the welder from anything that could affect the eyes, which includes ultraviolet and infrared filtering regardless of the shade settings. Safety must be a top priority.
QUICK ANSWER: Yes. When properly used, an auto-darkening helmet that meets applicable ANSI or CSA requirements provides protection from harmful ultraviolet and infrared radiation. The lens provides UV and IR protection even if it does not darken as expected.
Before welding, inspect the helmet and lens, check that the battery has sufficient charge, confirm the correct shade, sensitivity, and operating mode, and make sure the cover lenses are clean and undamaged. Always wear safety glasses under the welding helmet.
For a deeper look at welding helmet technologies, operator comfort and productivity considerations, review the consolidated Miller resource.
There are two common styles of welding helmets, a passive and an auto-darkening variable shade.
A passive helmet has a fixed-shade lens, typically a shade #10. When the helmet is in the down position, you will see through the dark lens. The lens will not switch from a light state to a darkened state. It will remain dark. Therefore, when inspecting the weld, you will need to remove the helmet. These helmets are generally lightweight, however because you can't select your shade level and the constant dark tinted lens, certain weld processes — as well as viewing your work area in-between welds — may be difficult.
An Auto-darkening helmet, fixed-shade combines the economy of a fixed-shade helmet and the benefits of auto darkening. If most of your welding involves similar material using the same welding process a fixed-shade auto-darkening helmet may be the right choice.
An Auto-darkening helmet, variable shade allows you to select the shade preference; this allows you to adjust the shades based on different welding processes and applications. Typical weld shade ranges are between shade #8 to #13. When the helmet is in the down position, you will see through a light lens allowing for clear visibility and evaluation of the weld piece and the surrounding area. Once the weld arc is struck, the helmet will automatically darken to the shade you have selected.
QUICK ANSWER: Choose an auto-darkening helmet rated for low-amperage TIG welding, with adjustable sensitivity and multiple arc sensors. A clear light state and advanced lens technology also help with torch placement and puddle control.
TIG welding can involve low-amperage arcs that are more difficult for some auto-darkening lenses to detect. The helmet should respond reliably at the lowest amperage you expect to use. Welders who frequently change positions or work around obstructions may also benefit from four arc sensors or X-Mode™.
Miller helmet options to consider for TIG welding include:
Digital Performance™
A lightweight option with three arc sensors, ClearLight™ 4x Lens Technology, AutoSense™ and a 7.2-square-inch viewing area.
Digital Elite™
An all-process option with four arc sensors, ClearLight 4x Lens Technology, X-Mode™, AutoSense and a 9.2-square-inch viewing area.
Digital Infinity™
Miller's largest viewing area at 13.4 square inches, with four arc sensors, ClearLight 4x Lens Technology, X-Mode, AutoSense and HDV Technology.
T94™
Designed for professional and out-of-position welding with four arc sensors, ClearLight 4x Lens Technology*, HDV Technology, and X-Mode *excluding T94i XL
Lightweight helmet with superior headgear for increased efficiency. Features ClearLight™ 4x Lens Technology.

Industry-leading helmet provides high-performance versatility. Features ClearLight™ 4x Lens Technology.

Largest viewing area maximizes visibility. Features ClearLight™ 4x Lens Technology.

Maximized comfort, visibility and productivity for professional welders. ClearLight™ 4x technology
QUICK ANSWER: Usually, no. A variable-shade auto-darkening helmet can be used for MIG, TIG and stick welding when it supports the required shade range and is adjusted correctly for the process and amperage.
For MIG welding, look for an appropriate variable shade range, dependable arc detection, clear visibility and comfortable headgear. Because MIG welding can produce significant spatter, keep the outer cover lens clean and replace it when damage begins to interfere with visibility.
The Classic Series can support straightforward MIG welding with variable shades 8–13. Digital Performance introduces ClearLight 4x Lens Technology and offers a lighter design, while Digital Elite and Digital Infinity add four arc sensors, X-Mode and more advanced viewing features. For outdoor or out-of-position MIG welding, additional sensors or X-Mode can help maintain dependable lens activation when optical sensors are obstructed or affected by sunlight.
The right Miller helmet depends on the processes you use, the positions you weld in and the features that matter most during the workday. Use this overview to narrow the options, then review current model specifications before making a final selection.
| Primary consideration | Miller helmet series | Why consider it |
|---|---|---|
| Straightforward MIG welding and value | Classic Series | Variable shades 8–13, two arc sensors and weld, cut and grind modes. |
| Lower helmet weight | Digital Performance™ | Lightweight design, low-amperage TIG rating, three arc sensors, ClearLight™ 4x Lens Technology, and AutoSense™. |
| All-process versatility | Digital Elite™ | Low-amperage TIG rating, four arc sensors, ClearLight 4x Lens Technology, X-Mode™, AutoSense, InfoTrack™ 2.0 and memory settings. |
| Maximum viewing area | Digital Infinity™ | 13.4-square-inch viewing area, low-amperage TIG rating, four arc sensors, ClearLight 4x Lens Technology, X-Mode, AutoSense, InfoTrack 2.0, HDV Technology and memory settings. |
| Professional and out-of-position work | T94™ | Four arc sensors, low-amperage TIG rating, ClearLight 4x Lens Technology*, X-Mode, InfoTrack 2.0, HDV Technology and memory settings. *Excluding T94i XL |
Product features vary by model. Compare current Miller welding helmets before making a final selection.
Welding light state:
The shade of the lens when it is inactive. The lighter the lens is in this state, the better the welder can view the work area and weld piece. Miller® auto-darkening helmets offer a light state of 2.5 or 3, depending on the model.
Welding shades:
Determine how dark the welding filter gets when the welding arc is struck. Market standard shades are 8-13 with 13 being the darkest. See the chart below to determine the correct shade number for your welding applications.
Use the process, electrode size and arc current to identify the minimum protective shade and suggested comfort shade. The existing detailed lens shade chart is retained below for reference.
Start with a shade that is too dark to see the weld zone. Then move to a lighter shade that provides a sufficient view without going below the minimum protective shade.
| Process | Electrode size in. (mm) | Arc current in amperes | Minimum protective shade no. | Suggested shade no. (comfort)* |
|---|---|---|---|---|
| Shielded metal arc welding (SMAW) | Less than 3/32 (2.4) 3/32–5/32 (2.4–4.0) 5/32–1/4 (4.0–6.4) More than 1/4 (6.4) | Less than 60 60–160 160–250 250–550 | 7 8 10 11 | -- 10 12 14 |
| Gas metal arc welding (GMAW) Flux cored arc welding (FCAW) | Less than 60 60–160 160–250 250–500 | 7 10 10 10 | -- 11 12 14 | |
| Gas tungsten arc welding (GTAW) | Less than 50 50–150 150–500 | 8 8 10 | 10 12 14 | |
| Air carbon arc cutting (CAC-A) | Light Heavy | Less than 500 500–1000 | 10 11 | 12 14 |
| Plasma arc cutting (PAC) | Less than 20 20–40 40–60 60–80 80–300 300–400 400–800 | 4 5 6 8 8 9 10 | 4 5 6 8 9 12 14 | |
| Plasma arc welding (PAW) | Less than 20 20–100 100–400 400–800 | 6 8 10 11 | 6–8 10 12 14 |
Reference: ANSI Z49.1:2021 Safety in Welding, Cutting and Allied Processes
Number of sensors:
The number of sensors ranges from two for a hobby level helmet to four for an industrial grade helmet. More sensors mean better coverage, especially for out-of-position welding where a sensor could be obstructed. Three sensors may be sufficient for production work or when you have a clear line of sight to your work. Four is optimal for most fabrication and out-of-position work.
Sensitivity:
Determines the amount of light required in order to darken the welding filter. Most auto-darkening helmets allow the welder to select how sensitive to light the welding helmet is.
Viewing area:
Welding helmets come in a multitude of viewing areas. A larger viewing area provides more visibility to the weld and the weld area while a smaller viewing area provides a more focused view. When looking at a larger viewing area, weight of the helmet may be a consideration.
ClearLight™ 4x Lens Technology
Advanced high-definition optics deliver a clearer, brighter, more realistic view for every stage of every weld.
X-Mode™
Electromagnetically senses the weld to eliminate sunlight interference and continuously detects the arc even if sensors are blocked.
HDV Technology
For a sharp detailed view at any angle with minimal distortion.
Memory Function
For ease of switching between two preset customized memory settings.
AutoSense™
With the press of a button, the helmet detects the ideal sensitivity for your welding environment. Ideal for welders who frequently adjust their settings for changing welding environments.
Auto On/Off
Lens automatically turns on at the strike of an arc.
Digital Controls
Intuitive design and large push buttons allow user to easily adjust mode and settings.
InfoTrack™ 2.0
Exclusive arc tracking technology that monitors arc time and arc count for quoting and metrics.
Comfort and fit
No two welders are the same, and neither are their preferences. Consider helmet weight, balance and headgear adjustability, especially when the helmet will be worn for long periods. A larger viewing area may , but it can also add weight. The right headgear should feel comfortable, stay secure and adjust to the way you work.
When to consider respiratory protection
A welding helmet helps protect the eyes and face, but it does not replace ventilation or respiratory protection. Evaluate the welding process, materials and environment to determine whether additional protection is needed. A powered air-purifying respirator (PAPR) can integrate filtered airflow into a compatible welding helmet for applications requiring respiratory protection.
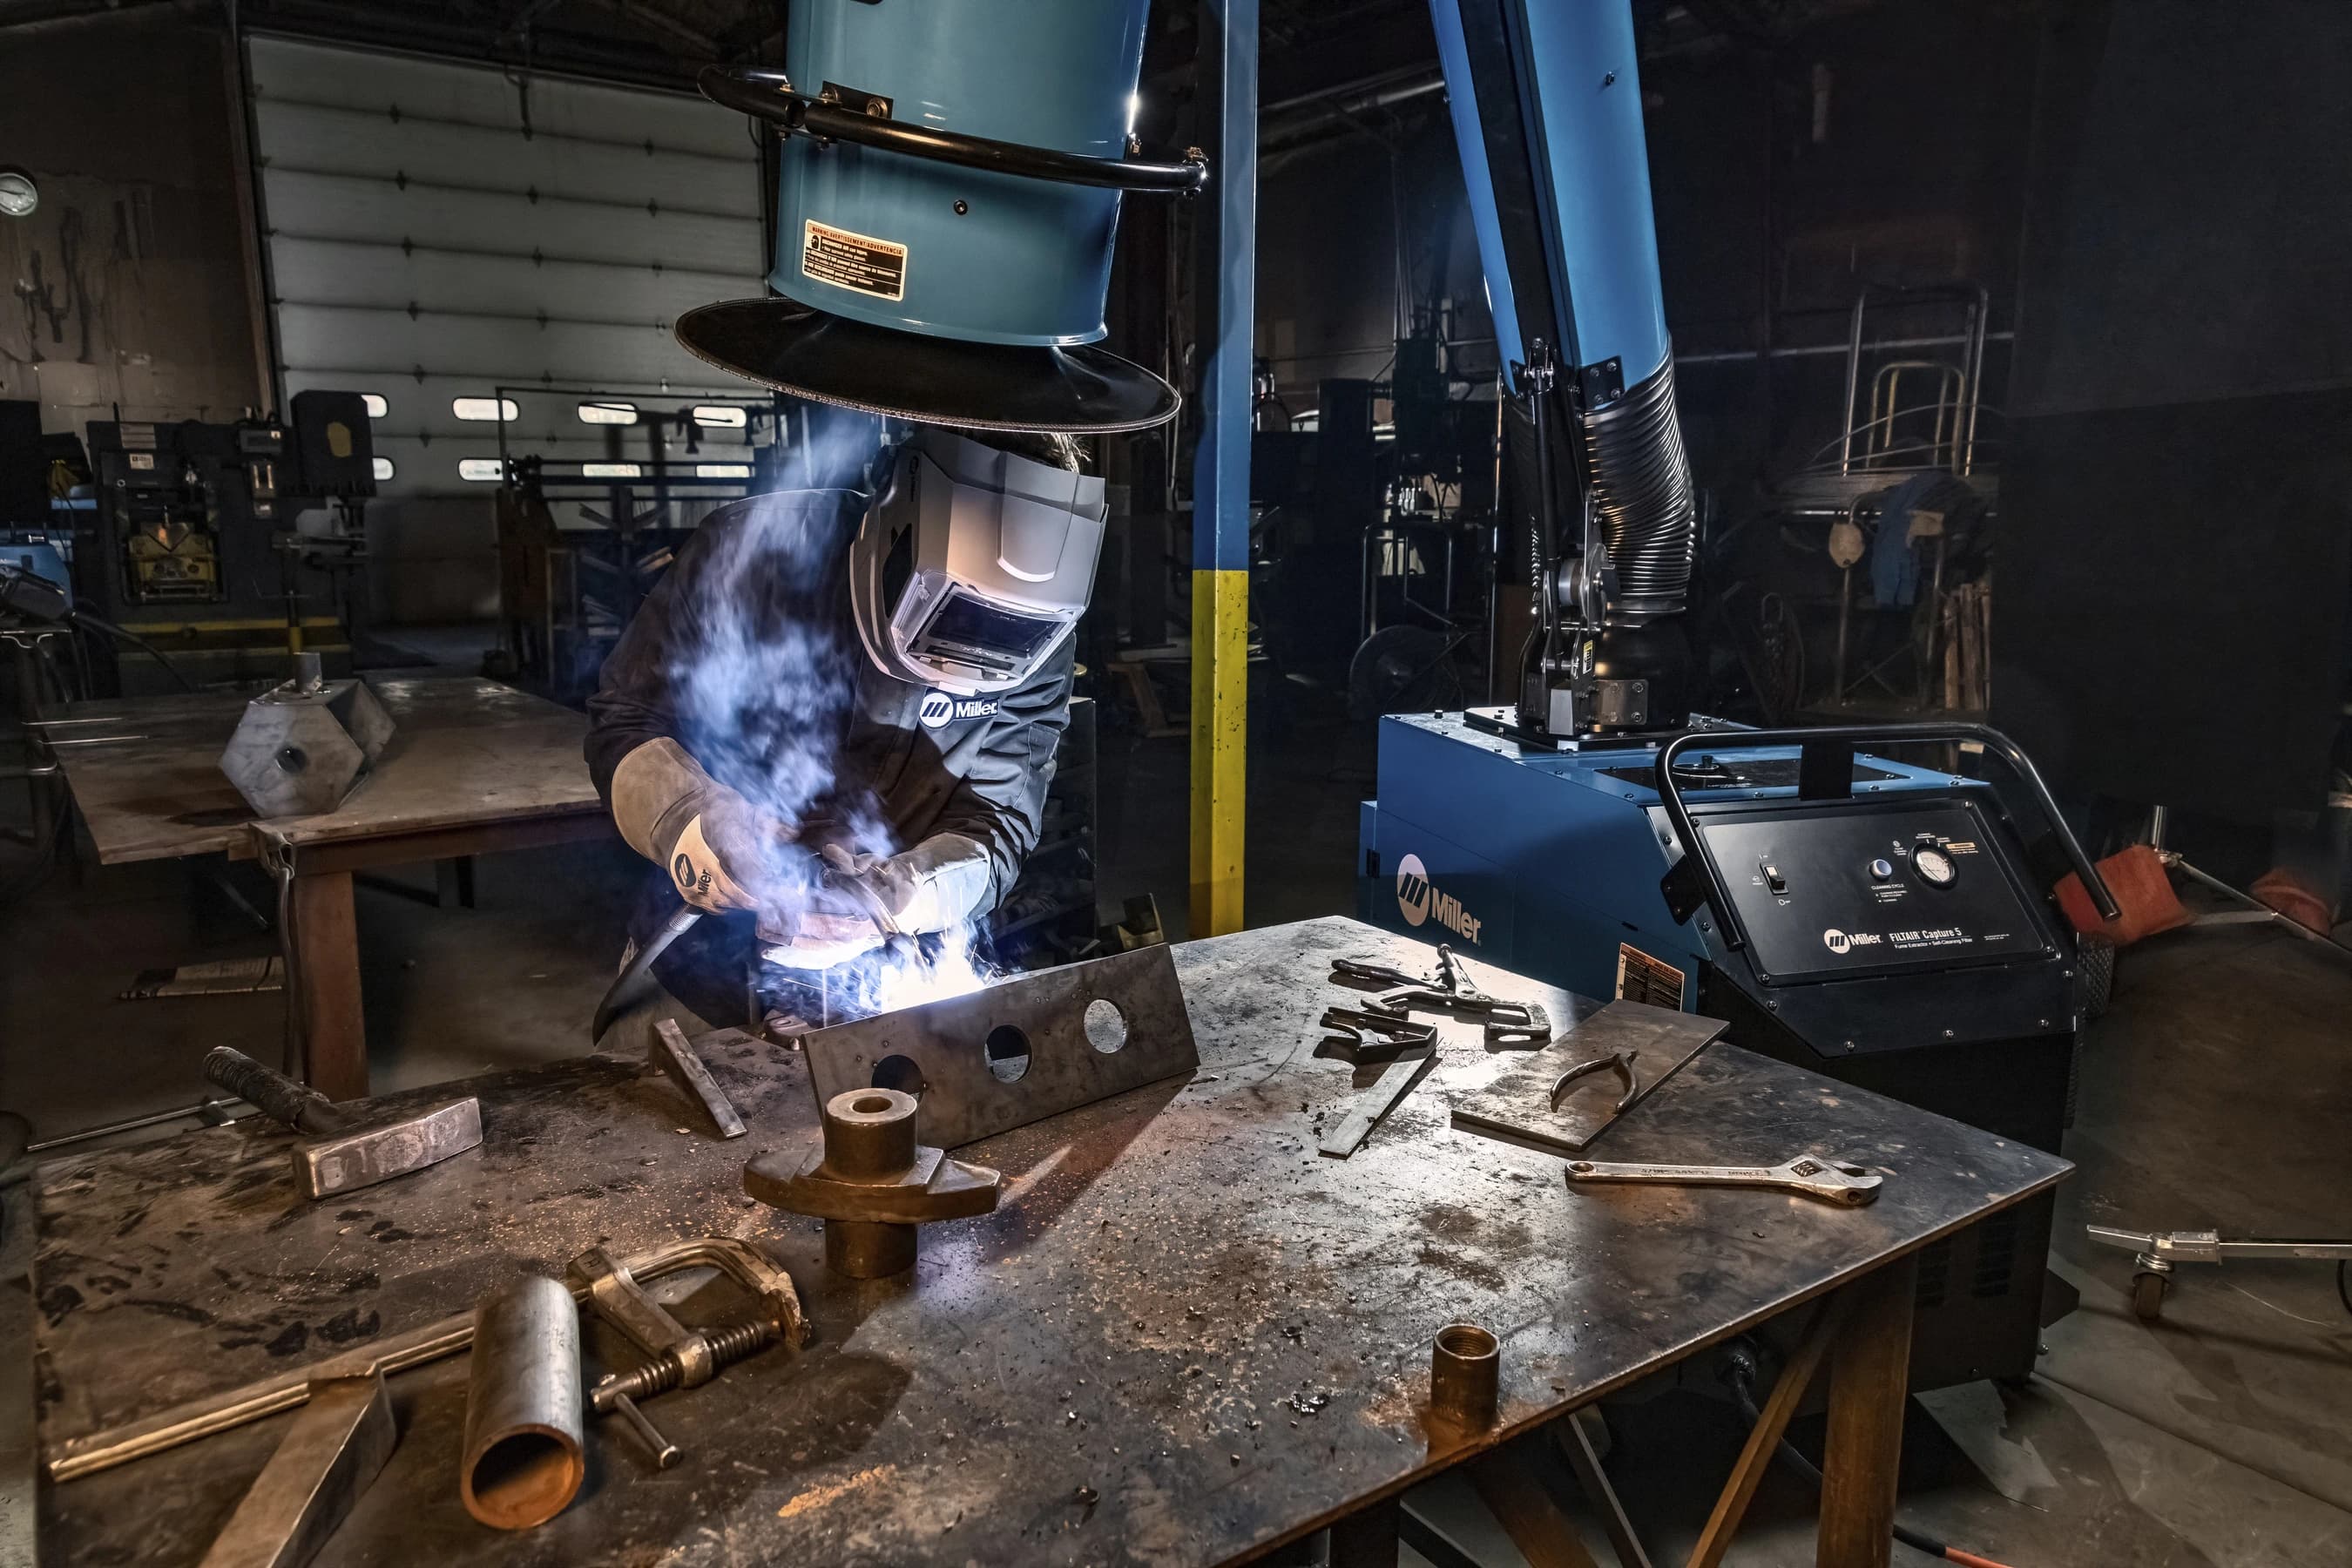
EXPAND YOUR KNOWLEDGE
EFFECTIVE WELD FUME CONTROL
Learn more about Miller welding respiratory protection and available helmet-integrated options.
While welding, always wear protective clothing appropriate for your welding application. Always wear your safety glasses under the welding helmet.
For consistent visibility of the weld, ensure the outer cover lens of the welding helmet is free from slag and spatter.
Before starting work, verify that the helmet is in the correct operating mode and that shade, sensitivity and delay settings are appropriate for the welding process and amperage.
If welding is your career — or is part of it — take the time to find the helmet that's right for you. While it may be tempting to buy the least expensive helmet at the local hardware store, taking the time to explore all of your options can have long-term benefits.
View Miller welding helmets to compare current series, lens features and accessories.
Posted Jun 16, 2026
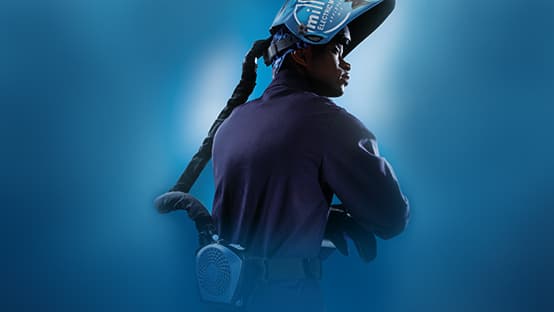
Learn how to outfit your welding operators with the best protective clothing and accessories to avoid heat stress — which can lead to a number of health concerns.
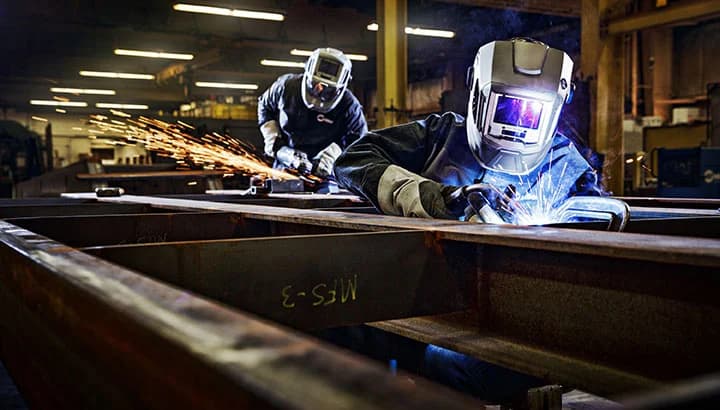
Advanced welding helmets enhance safety, ensure compliance, and improve comfort, helping reduce fatigue and increase productivity on the job.
Reduce heat stress and boost welding performance with cooling gear like CoolBand™ and CoolBelt™, offering comfort, efficiency, and quick ROI.