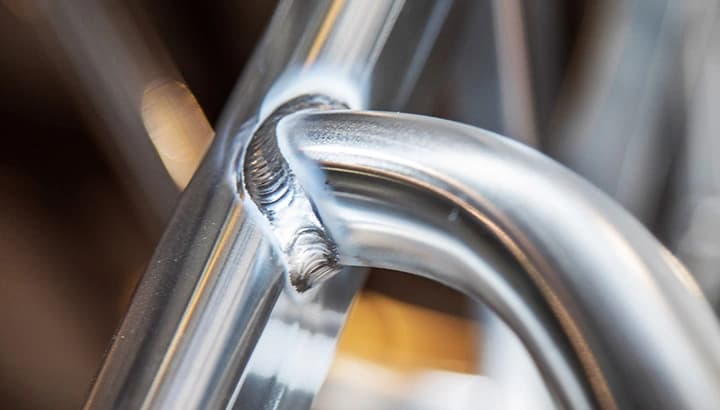
Article
Advanced Aluminum Welding Techniques: MIG and TIG Tips and Complex Answers
Get advanced aluminum welding tips in this Q&A. Move past the basics and tackle the challenges of welding aluminum in industrial applications.

Andrew Pfaller
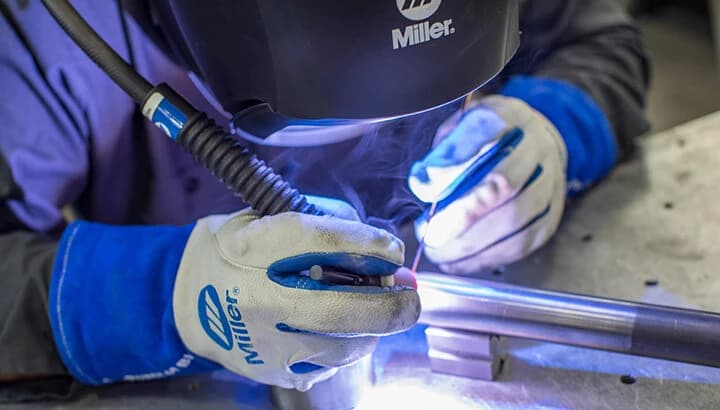
Learn how to TIG weld aluminum for repair, including how to fix cracks, fill holes and prevent common weld defects. Follow proven tips for stronger, cleaner aluminum welds.
TIG welding is an effective method for repairing aluminum, but results depend on proper prep and technique. For issues like cracks, holes or weakened welds, factors such as surface cleanliness, filler metal selection and heat input all play a crucial role in achieving a strong, lasting repair.
Repair the part when the damage is limited to small cracks or holes that can be fully cleaned and welded. Replace the part if it has multiple fractures or severe structural damage or is inexpensive and easy to replace, as repairs may not be worth the time.
Each repair is unique and should be evaluated based on your skill level and the part’s condition. Attempting to salvage a component that is beyond repair can lead to wasted time, added cost and unreliable results.
Proper joint preparation is the most important step in aluminum TIG welding repair. Cleaning and preparing the material helps prevent contamination issues like porosity, inclusions and weak welds.
Disassemble and remove the part from the larger component whenever possible. Heat from the TIG welding process can damage surrounding items such as motors and wiring.
When repairing a crack, bevel the joint down to a “V” halfway through the damaged part (see close-up below). Then tack weld it together and flip the part over to bevel and tack the opposite side. Welding on both sides adds strength and helps reduce the chance of breaking.
If both sides aren’t accessible, bevel deeper so that 70% to 80% of the part’s thickness can be filled with weld metal. Use a hand grinder with a 4 1/2-inch diameter wheel (36–80 grit) to prepare the joint. Avoid finer grits, as they can clog the wheel and embed impurities into the aluminum.
Use a stainless steel wire brush designated for aluminum to clean the joint. This helps prevent contamination from other metal alloys and removes dirt and surface oxides.
Use a cleaner designated for aluminum to remove any remaining oil, grease or moisture. Also wipe the opposite side of the joint to prevent impurities from being pulled into the weld puddle. Always follow proper safety recommendations when using cleaning agents.
Before repairing aluminum, it’s important to set up your TIG welder correctly. The right machine settings and equipment choices directly impact weld strength and appearance. Pay attention to the following setup factors:
To ensure proper performance, use a power source with AC/DC capabilities, such as a Dynasty® AC/DC TIG welder. All AC/DC machines have this built-in feature, while an AC-only machine may require an add-on external high-frequency component for full functionality.
To ensure arc stability when welding aluminum, use a power source with high-frequency capabilities. Most modern TIG machines include this feature, which helps maintain a steady arc throughout the welding process — especially important when making consistent repairs.
Balance control is an important feature when TIG welding aluminum because it allows you to increase or decrease the cleaning action. This cleaning action helps remove surface oxides, which can interfere with weld quality if not properly managed.
While most TIG power sources provide adequate cleaning through balance control, it should not be relied on as a substitute for proper joint preparation. Cleaning is especially important when welding on used parts, which tend to be dirtier.
Using the appropriate amperage range helps support consistent weld performance during repair work. Most aluminum TIG welding repairs won’t exceed 80 to 150 amps, so a 200-amp class power source is typically sufficient.
A 200-amp air-cooled TIG torch or a 250-amp water-cooled torch will suffice for most aluminum repairs. Choosing a torch that matches your power source and application helps maintain consistent performance during the weld.
Be certain your power source has post-flow capabilities to prevent tungsten and weld puddle contamination. Post-flow shielding gas continues to protect the hot tungsten and weld puddle as they cool, preventing oxidation and contamination that can weaken the weld.
Choosing the right shielding gas, tungsten and filler rod is critical for successful aluminum TIG welding repair. These factors affect weld quality, contamination control and overall repair strength.
Use pure argon for most aluminum TIG welding repairs. For thicker materials (greater than 3/8 inch), use an argon/helium mix, as helium creates a hotter weld puddle.
Set shielding gas flow at 15 to 20 cubic feet per hour (cfh) when welding in the flat position. For out-of-position welds or when welding in drafty conditions, increase the flow rate to 20 to 25 cfh.
Avoid using too much shielding gas, as it can create turbulence in the weld puddle and lead to porosity and pinholes.
2% ceriated tungsten sharpened at the tip is a good all-purpose option for aluminum TIG welding. It allows for higher amperage compared to pure tungsten and provides easy arc starts along with better control.
A 3/32-inch diameter tungsten is suitable for most repairs, while a 1/8-inch tungsten should be used for material thicker than 3/8 inch.
Tungsten preparation and cleanliness are critical. Grind the tungsten with a 250-grit or finer wheel so that grind marks run lengthwise with the tip. If contamination occurs, cut back about 1/2 inch from the affected area and reshape the tungsten rather than grinding only the surface.
The tungsten should extend no more than one and a half times its diameter beyond the nozzle to improve visibility and reduce the risk of contamination.
Common filler rods for aluminum repair include ER4043, ER4943 and ER5356.
Filler rod diameter should match the thickness of the part, with 3/32 inch and 1/8 inch being the most common sizes.
To prevent contamination, clean the filler rod with a pad before use. Avoid using sandpaper, as it can introduce impurities into the weld.
Repairing cracks in aluminum requires proper joint preparation and multiple weld passes to ensure a strong repair.
Start with the prepared joint:
Use multiple weld passes to complete the repair:
The first weld pass on used aluminum will typically be dirty. Run this first pass without adding filler rod to bring contamination to the surface.
After the first pass, wire brush the joint to remove impurities. Then begin adding filler rod on the second pass. Continue welding, brushing and building up the joint until the repair is complete.
If defects appear, grind them down, clean the area and weld again.
Repairing holes in aluminum requires a slightly different approach than repairing cracks, with a focus on gradually building up weld material.
Prepare the hole before welding: Clean out the hole using a small stainless steel brush or drill through it with a clean drill. Then weld around the edges of the hole without adding filler rod to remove contaminants. Brush the surface again to remove any remaining impurities.
Fill the hole with controlled heat: Use low heat and a small diameter filler wire (.030 or .035 inch) to carefully begin filling the hole. Too much heat can create additional pinholes, especially when working with cast aluminum.
Weld in a circular pattern, building from the outside toward the center. Once the hole is filled, weld around the top surface to flatten the repair.
If needed, grind down any excess weld material for a smoother finish, though minor surface buildup may not affect performance.
Proper technique is critical for maintaining control and producing consistent welds during aluminum repair.
Whenever possible, position the part flat before welding. Hold the tungsten about 1/8 inch away from the workpiece and avoid touching the aluminum, as this can contaminate the weld.
Maintain an arc length equal to the diameter of the tungsten. For example, using a 3/32-inch tungsten requires a 3/32-inch arc length.
Some modern inverter machines, such as Dynasty® TIG welders, allow for Lift-Arc starting, but this technique is not recommended for conventional AC machines, as it can increase the risk of tungsten contamination.
Successful aluminum TIG welding repairs rely on proper preparation, the right setup and controlled technique. Whether you’re fixing cracks, filling holes or rebuilding worn areas, managing contamination and using the right materials is essential for achieving strong, reliable welds.
With the right approach, you can restore aluminum parts with confidence — reducing defects, improving durability and extending the life of the component without unnecessary replacement.
Posted Nov 18, 2024
Get advanced aluminum welding tips in this Q&A. Move past the basics and tackle the challenges of welding aluminum in industrial applications.
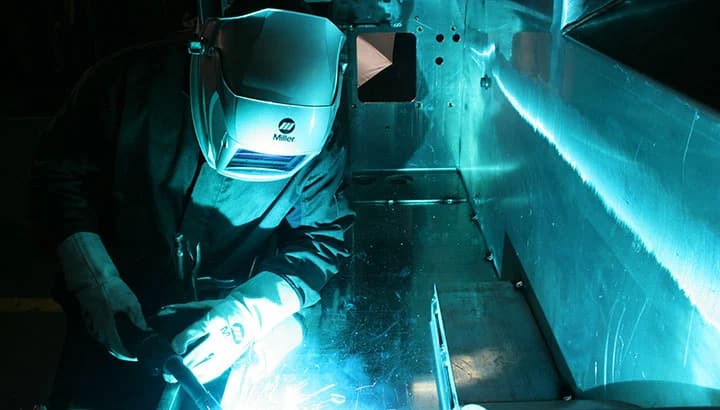
Aluminum doesn't have to be difficult to weld. Learn best practices for MIG and TIG welding aluminum in industrial fabrication and manufacturing.
Learn how modern handheld laser welding systems overcome aluminum reflectivity and heat challenges for consistent welds.